If you’ve made it to Week 6 of the Skill Builder Quilt Along, pause for a second and give yourself some credit.
You’ve already learned strip piecing, half-square triangles in multiple methods, and flying geese. Those are real quilting skills. And this week, we’re going to build on them.
This week in the Skill Builder Quilt Along, we’re making quarter-square triangles.
If that sounds intimidating, I promise it’s not. Quarter-square triangles are one of those units that feel more complicated than they actually are, especially once you realize you already have most of the skills you need to make them.
Let’s take a closer look.
What Are Quarter-Square Triangles?
A quarter-square triangle — sometimes called a QST or an hourglass unit — is a square made from four triangles coming together to form an hourglass shape in the center of the block.
They show up in all kinds of quilt designs: hourglass blocks, Ohio Star variations, pinwheels, and countless traditional patterns. Once you start spotting them, you’ll realize just how often they appear.
And here’s the thing that makes them especially approachable: you make quarter-square triangles from half-square triangles. Which means if you’ve been following along with the quilt along, you already know how to do the first step.
How to Make Quarter-Square Triangles From Two HSTs
The process is simpler than it sounds.
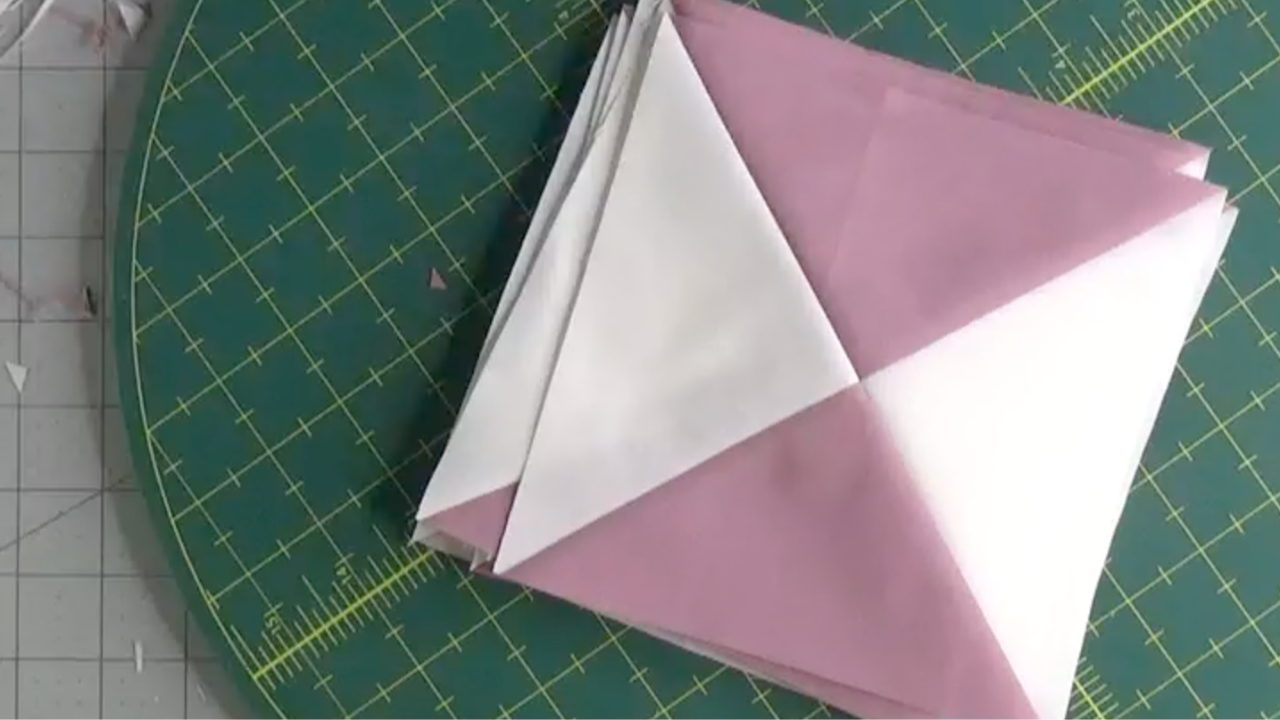
Start by making two half-square triangles. Then place them right sides together, nesting the center seams so the fabrics are opposite of each other. Draw a diagonal line perpendicular to the existing seam. Sew a quarter inch on each side of that line, then cut along it.
Press and square up, and you’ll have two quarter-square triangles.
Two HSTs in, two QSTs out.
It’s a technique that feels very satisfying once you get it down. Each step builds on something you’ve already practiced, which makes the whole process feel manageable instead of overwhelming.
Tips for Beautiful Quarter-Square Triangles
A few small details make a noticeable difference with this unit.
Nest your seams carefully. When you place your two HSTs together, make sure the center seams are nesting — pressing in opposite directions so they lock together. This is what helps your center point come out crisp and flat.
Make your HSTs slightly oversized. Just like when making half-square triangles, it helps to start a little larger than you need. That extra fabric gives you room to trim your QSTs to an exact size, which makes assembly much easier later.
Handle the edges with care. Quarter-square triangles have bias edges on all four sides, which means they can stretch if you’re not gentle with them. Press rather than slide your iron, and try not to tug on the edges while sewing.
Square up every single unit. This is the step that makes everything else easier. Trimmed, accurate QSTs sew together beautifully. Skipping this step is one of the most common reasons blocks don’t quite line up.
Check your center point before pressing. After cutting along the diagonal line, open up your unit and take a peek at the center before you press. If the four triangles are meeting nicely at the center, you’re in great shape. If not, it’s easier to adjust now than after pressing.
None of these tips require anything fancy. Just a little patience and attention to the details that matter most.
A Note for Beginners
If your first few quarter-square triangles don’t turn out perfectly, that’s completely normal.
This unit asks you to juggle a few things at once — nesting seams, staying on the line, handling bias edges gently. That’s a lot to think about when you’re learning. Give yourself permission to make a practice unit or two before diving into your quilt blocks.
Here’s the thing about quilting skills: they click. You practice a technique, it feels awkward, and then one day it just… makes sense. Your hands know what to do. Quarter-square triangles are like that.
So if your first attempt is a little wonky — trim it up, learn from it, and try again. That’s exactly how skills get built.
And if you’re working through the Skill Builder Quilt Along, remember that you’ve already made it through five blocks. You know more than you did when you started. That counts for a lot.
Inside the Skill Builder Quilt Along
In Week 6, we’re using quarter-square triangles to build our next block, and participants are putting all their previous skills to work at the same time — accurate cutting, consistent seam allowances, careful pressing, and squaring up.
That’s one of the things I love most about the quilt along: each new block doesn’t just teach something new. It also reinforces everything that came before it. The skills layer on top of each other.
By the end of the quilt along, participants won’t just have a finished quilt. They’ll have a toolkit of techniques they can use in project after project.
Want to Join Us?
It’s not too late to be part of the Skill Builder Quilt Along.
Each week focuses on a different foundational quilting skill, taught step-by-step so you can practice it, understand it, and actually feel confident using it. The goal isn’t just to finish a quilt—it’s to finish a quilt and walk away with skills you’ll use for years.
If you’ve ever felt like quilting patterns move too fast, or like you’re missing some foundational knowledge that everyone else seems to have — this is the quilt along for you.
Because quilting should feel exciting and creative, not stressful.
You can find all the details and sign up on the Skill Builder QAL home page. We’d love to have you.