I wrote a post about flying geese a few years ago. Looking back, I knew far less about them than I do now. So, we’re doing this one over—bigger, better, and with two methods instead of one.
If flying geese have ever felt fussy or unpredictable, I get it. They were like that for me, too. The good news? Most of the wonkiness comes down to a handful of small habits. Once you’ve got those down, your geese will start looking sharp. Promise.
Let’s go.
The Two Methods Worth Knowing
There are several ways to make flying geese, but two of them are worth your time.
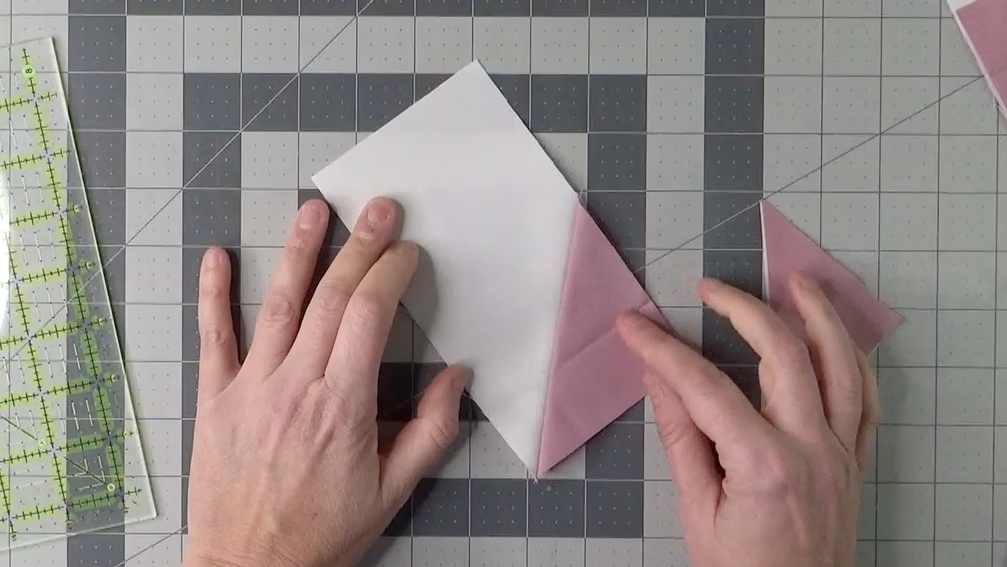
Stitch-and-flip. You sew two squares onto the corners of a rectangle along their diagonals, then trim and flip them open. It’s straightforward, easy to understand, and a great place to start if you’re new to flying geese.
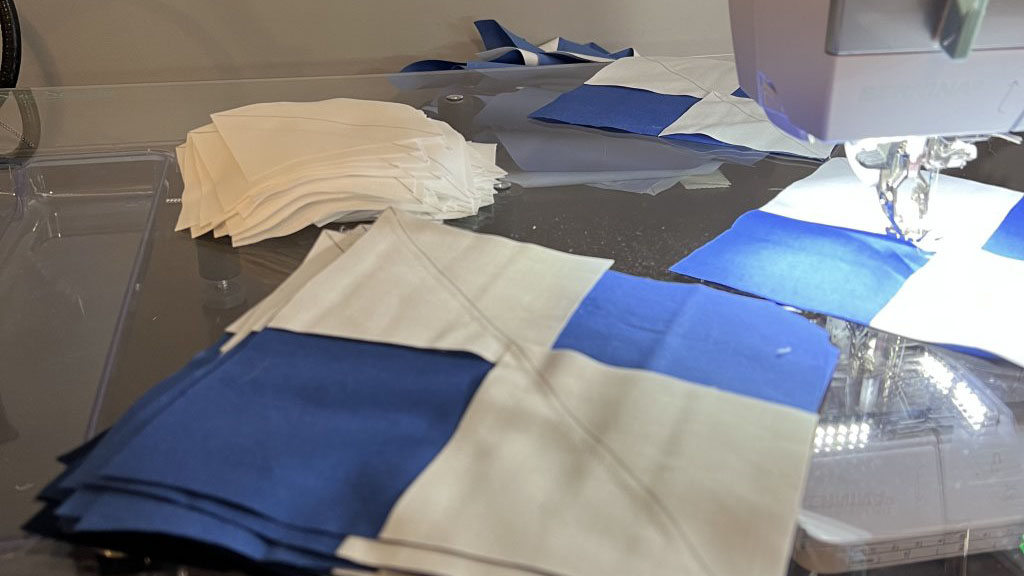
Four-at-a-time (no-waste). You sew four small squares onto one larger square in stages, and you end up with four flying geese units and zero wasted fabric. Faster and tidier - especially when a pattern calls for a lot of geese.
Neither one is “better.” Stitch-and-flip is great for small batches, scrappy looks, or when you want to use what you have on hand. Four-at-a-time wins when you need volume and identical units. Knowing both means you can pick the right method for the project.
Tips That Work for Both Methods
These are the habits that make the biggest difference, no matter which method you use.
Mark your stitching lines. I know, it feels like an extra step. But a clearly drawn diagonal line gives your seam something to follow, and your accuracy will thank you. Use a marking tool that shows up well on the back of your fabric, and don’t skip this when you’re still learning.
Sew just a thread’s width away from the line. This tiny tweak makes a huge difference. When you press the fabric over, that little fold takes up the smallest bit of space. Sewing a hair to the outside of your line accounts for it, so your finished unit doesn’t come out just a smidge too small.
Press, don’t iron. The seams on your flying geese blocks are on the bias, and bias stretches if you push it around. Set the iron down, lift it up, move on. Save the gliding for things that won’t misbehave.
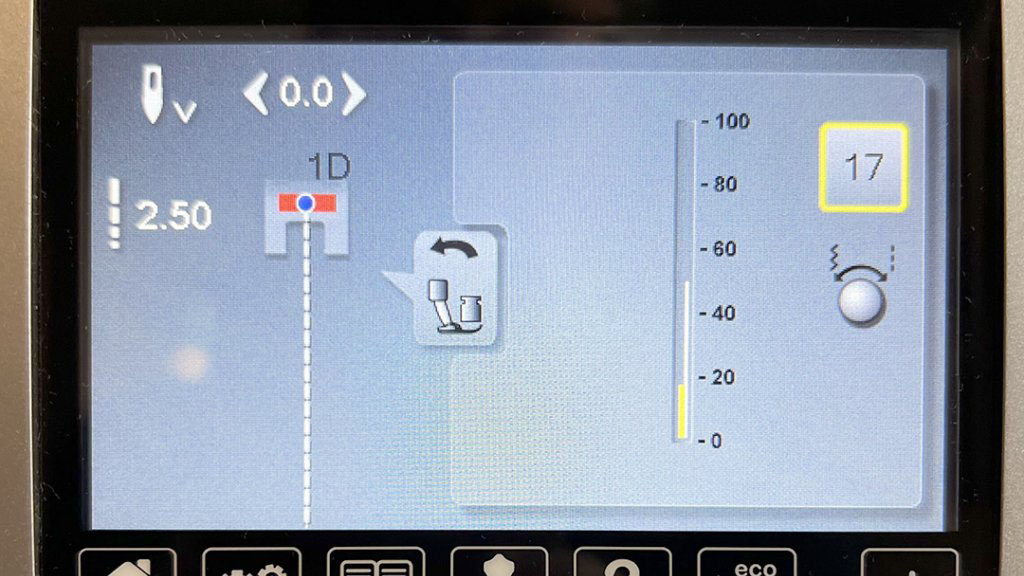
Use pins or adjust your presser foot tension. Even with a walking foot, fabric can shift while you sew - and shifting on a flying geese unit shows. You can pin (which I personally hate), or you can lower your presser foot tension. Most modern machines have this setting, and it’s a quiet hero. For piecing flying geese, try somewhere between 15 and 25 to see what works for your machine.
Protect your points when you trim. When you line up your ruler, leave a quarter inch between the top of your goose’s point and the edge of your ruler. That quarter inch is the seam allowance that keeps your point sharp once the unit gets sewn into a block. Crop it off, and you’ll lose the point - and once it’s gone, it’s gone.
Tips for Stitch-and-Flip
Check your coverage before pressing. After you flip the corner triangle open, give it a quick press with your finger and make sure it reaches all the way to the edges of the rectangle. If it doesn’t, your seam was off, and you can fix it right then. So much easier than ripping on a bias edge later.
Trim your dog ears. Those little fabric tails left over after pressing don’t seem like a big deal, but they add up. They create bulk in your seams down the line, and bulk is the enemy of a flat block. A few seconds with your scissors now results in a flatter quilt later.
Tips for Four-at-a-Time
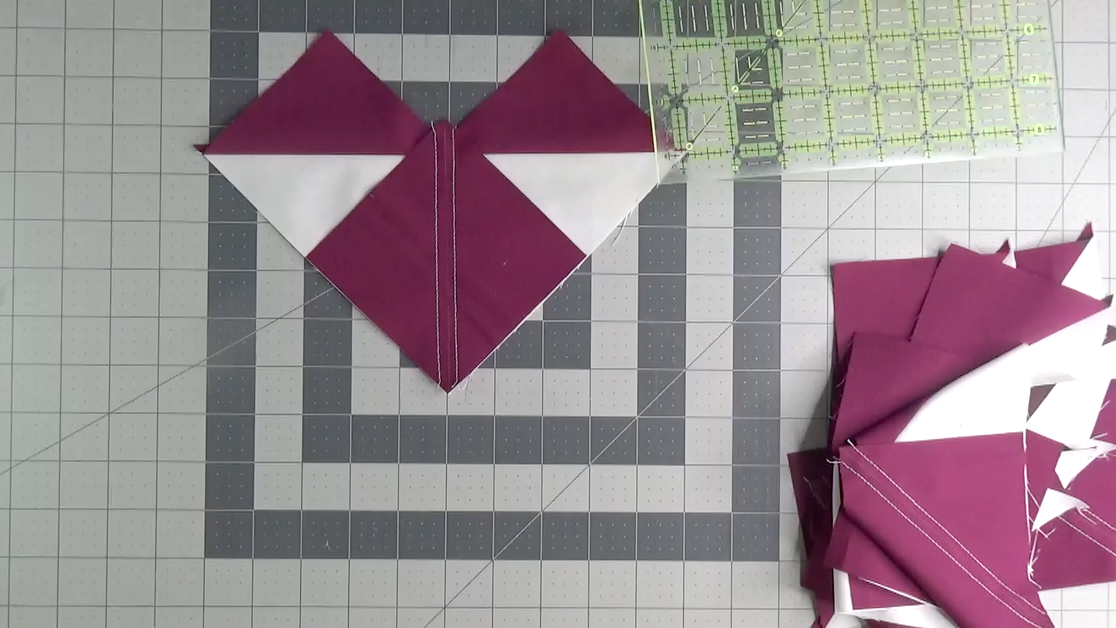
You’re going to make hearts. This is the best part. After your first round of sewing and pressing, you’ll have what looks like two cute little fabric hearts. Pause for a second when they show up. I always take a quilty little moment of joy when it happens. (Quilting hands you so many of those small joys. Don’t skip them.)
Watch your seam allowance. Sewing a quarter inch from your drawn line is what makes this method work. If you drift too far away from the line, your geese will be too small to trim to size. Consistent seam allowance, every pass.
Press extra gently. This method has more bias edges than stitch-and-flip, which means more chances for things to stretch out of square. Lift, place, lift. Your future self will thank you when you go to trim the block.
A Word on Trimming
Trimming is where decent flying geese become beautiful flying geese. A great ruler is non-negotiable, and the best ones are non-slip and easy to read.
If you already have a ruler you trust, mark it up with washi tape so you don’t have to think about which lines to follow on every cut. Your brain will thank you.
Bonus tip: Trimming is a perfect excuse to put on a TV series and pour yourself something delicious. Rotary cutting + a good show + your favorite beverage = the cozy quilting trifecta.
You’ve Got This
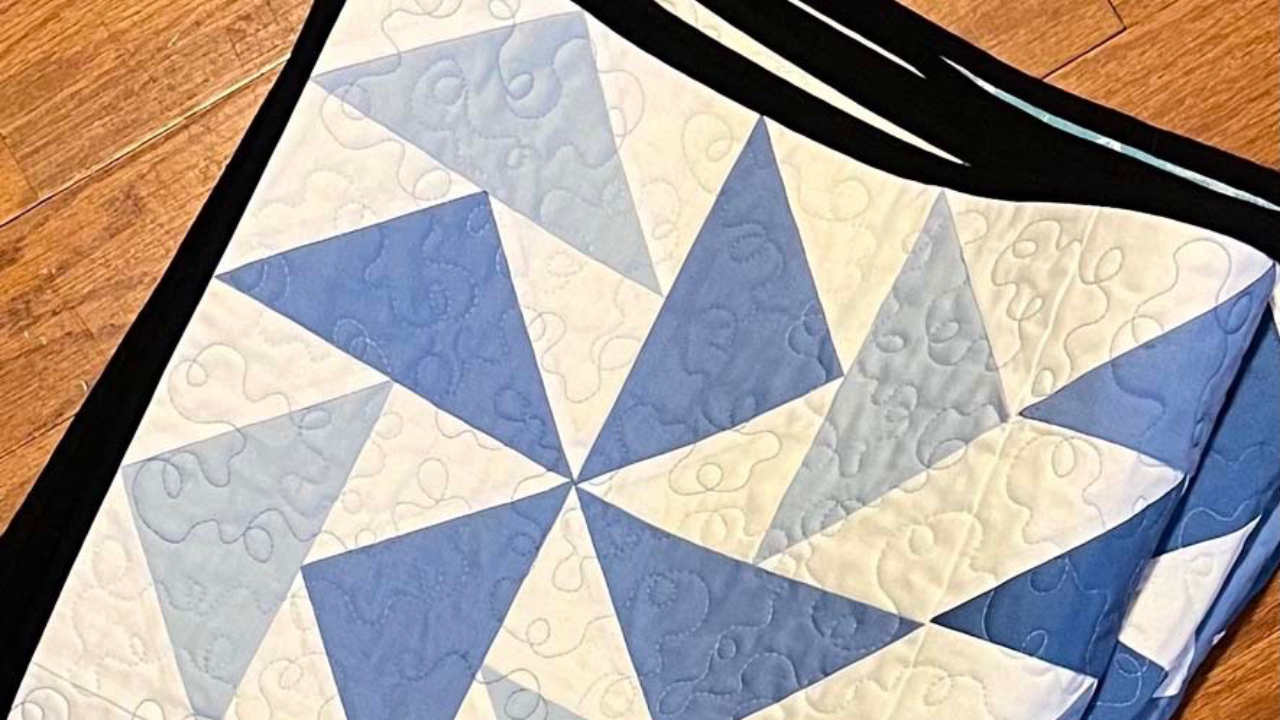
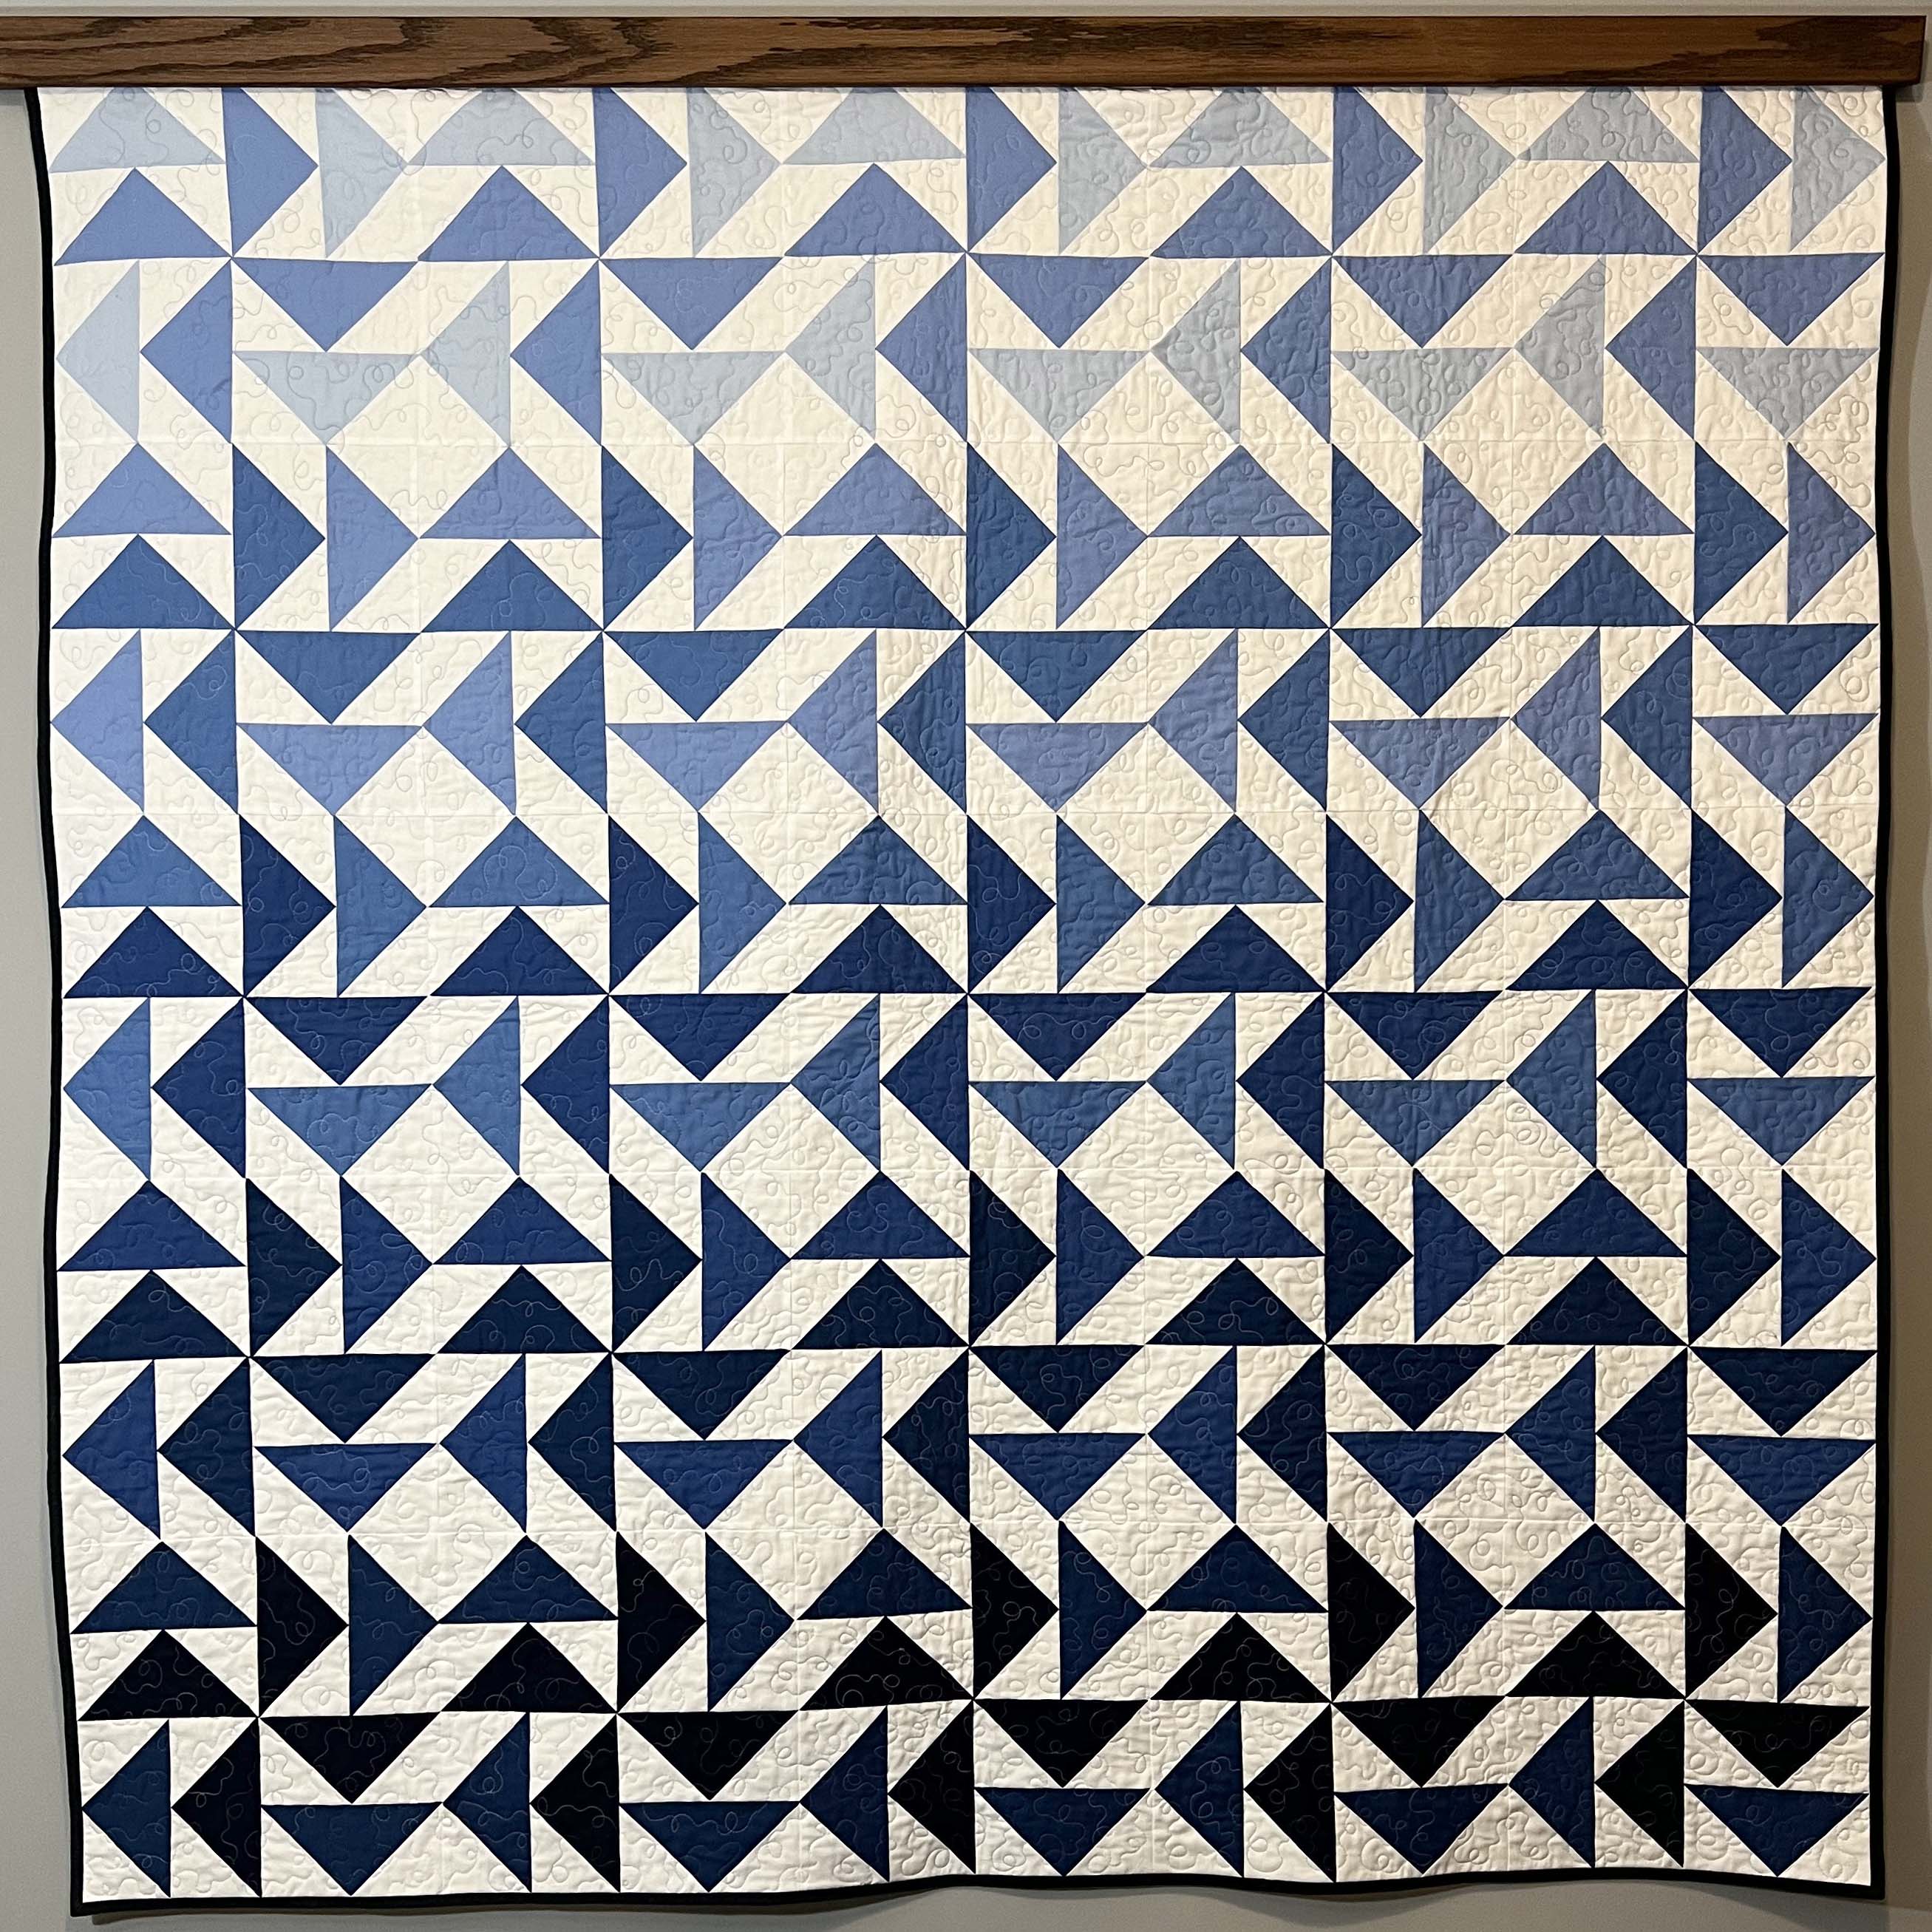
Flying geese show up everywhere - stars, borders, sashing, modern designs. Getting comfortable with both methods (and the small habits that make them work) opens a whole world of patterns you might’ve skipped before.
So, pick a method, mark your lines, and go make some hearts. Because that’s still my favorite part.