Half-square triangles are one of the most versatile building blocks in quilting.
If you’ve admired quilts with pinwheels, stars, zigzags, or chevrons, you’ve likely been looking at blocks made with half-square triangles. Once you master how to make them well, a whole new range of quilt designs opens up.
But if you’ve ever tried making a large number of half-square triangles two at a time… you know it can feel a bit slow.
That’s where the 8-at-a-time method comes in.
Instead of sewing triangles two at a time, this method lets you make eight half-square triangles from just two squares of fabric. It’s efficient, beginner-friendly, and very satisfying to see how quickly the pieces come together.
In Week 4 of the Skill Builder Quilt Along, we’re using this method to create a row of cheerful pinwheel blocks, and along the way, you’ll learn a technique that many quilters rely on repeatedly.
Let’s take a closer look at why this method is so popular.
What Is the 8-at-a-Time Half-Square Triangle Method?
The idea of this technique is simple: instead of sewing smaller squares together to make two half-square triangles, you start with two larger squares of fabric.
Mark an "X" on the wrong side of one of your squares and sew one quarter inch away from those lines on each side. Then, cut the square along your marked lines and in half both horizontally and vertically. When you unfold the pieces, you will have eight half-square triangles ready to be trimmed to size.
It’s one of those quilting techniques that feels a bit like magic the first time you try it.
For quilts that incorporate many half-square triangles, this method can significantly speed up the piecing process without sacrificing accuracy.
Why Many Quilters Prefer This Method
There are multiple methods to make half-square triangles, but the 8-at-a-time technique offers a key advantage.
Using some other quick methods, the outer edges of the finished blocks end up on the bias of the fabric. Bias edges have a natural stretch, which can cause blocks to slightly distort while sewing or pressing.
With the 8-at-a-time method, the outer edges stay on the straight grain of the fabric. That means the units tend to stay more stable and behave nicely while you assemble your quilt.
For beginners, especially, this stability can make the whole process feel much easier.
Tips for Beautiful Half-Square Triangles
Even though this is a fast method, a few small habits can make a big difference in your results.
Mark carefully
The marked lines guide all of your stitching, so taking a moment to mark them will keep your stitching line on track.
Sew with a consistent seam allowance
Using a scant quarter-inch seam is important with this method because you’ll want your blocks to be oversized enough for trimming. If you sew too far away from the marked lines, trimming might be tough later.
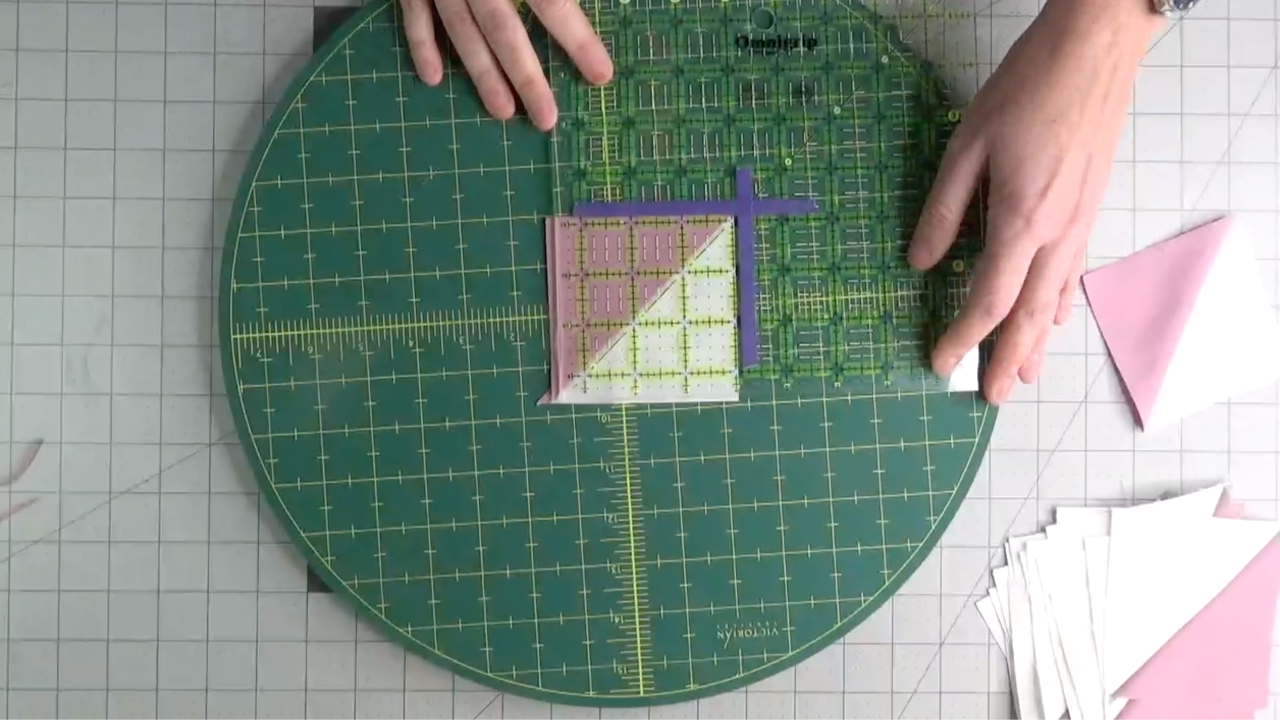
Trim your units
Trimming your half-square triangles helps ensure every block finishes at exactly the right size. It’s the step that gives quilts those crisp points and clean intersections.
Turning Half-Square Triangles into Pinwheel Blocks
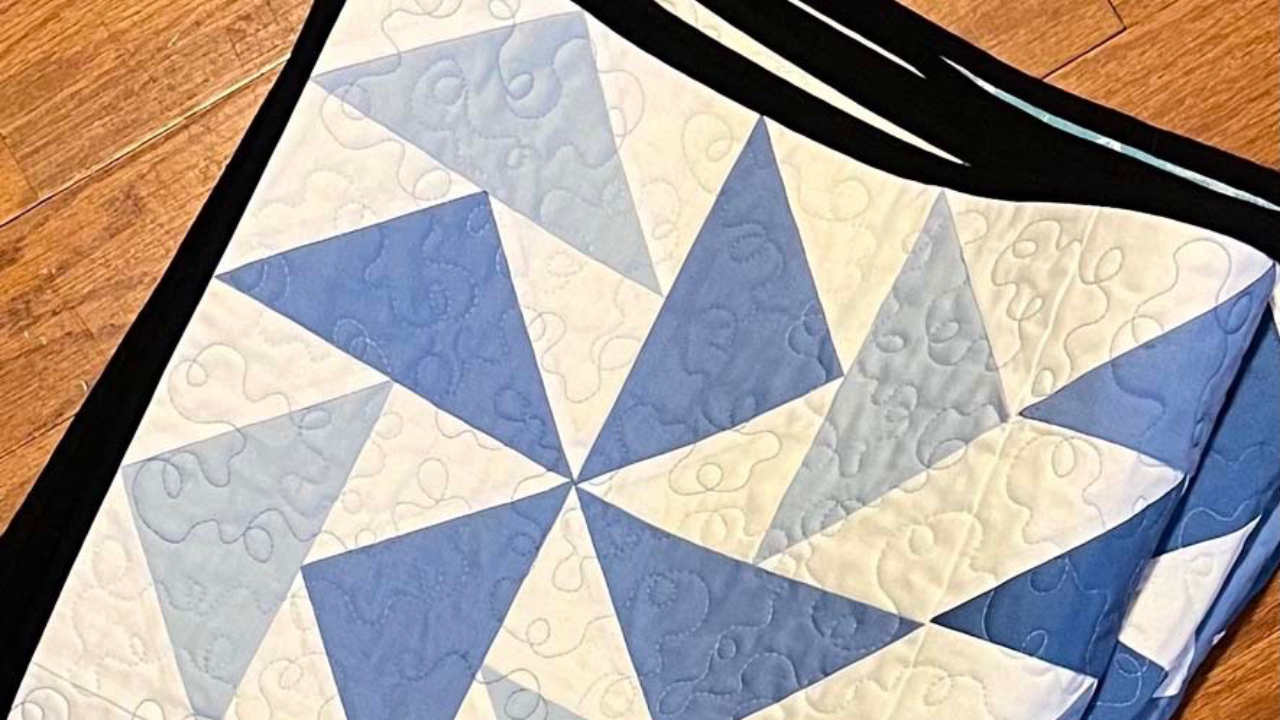
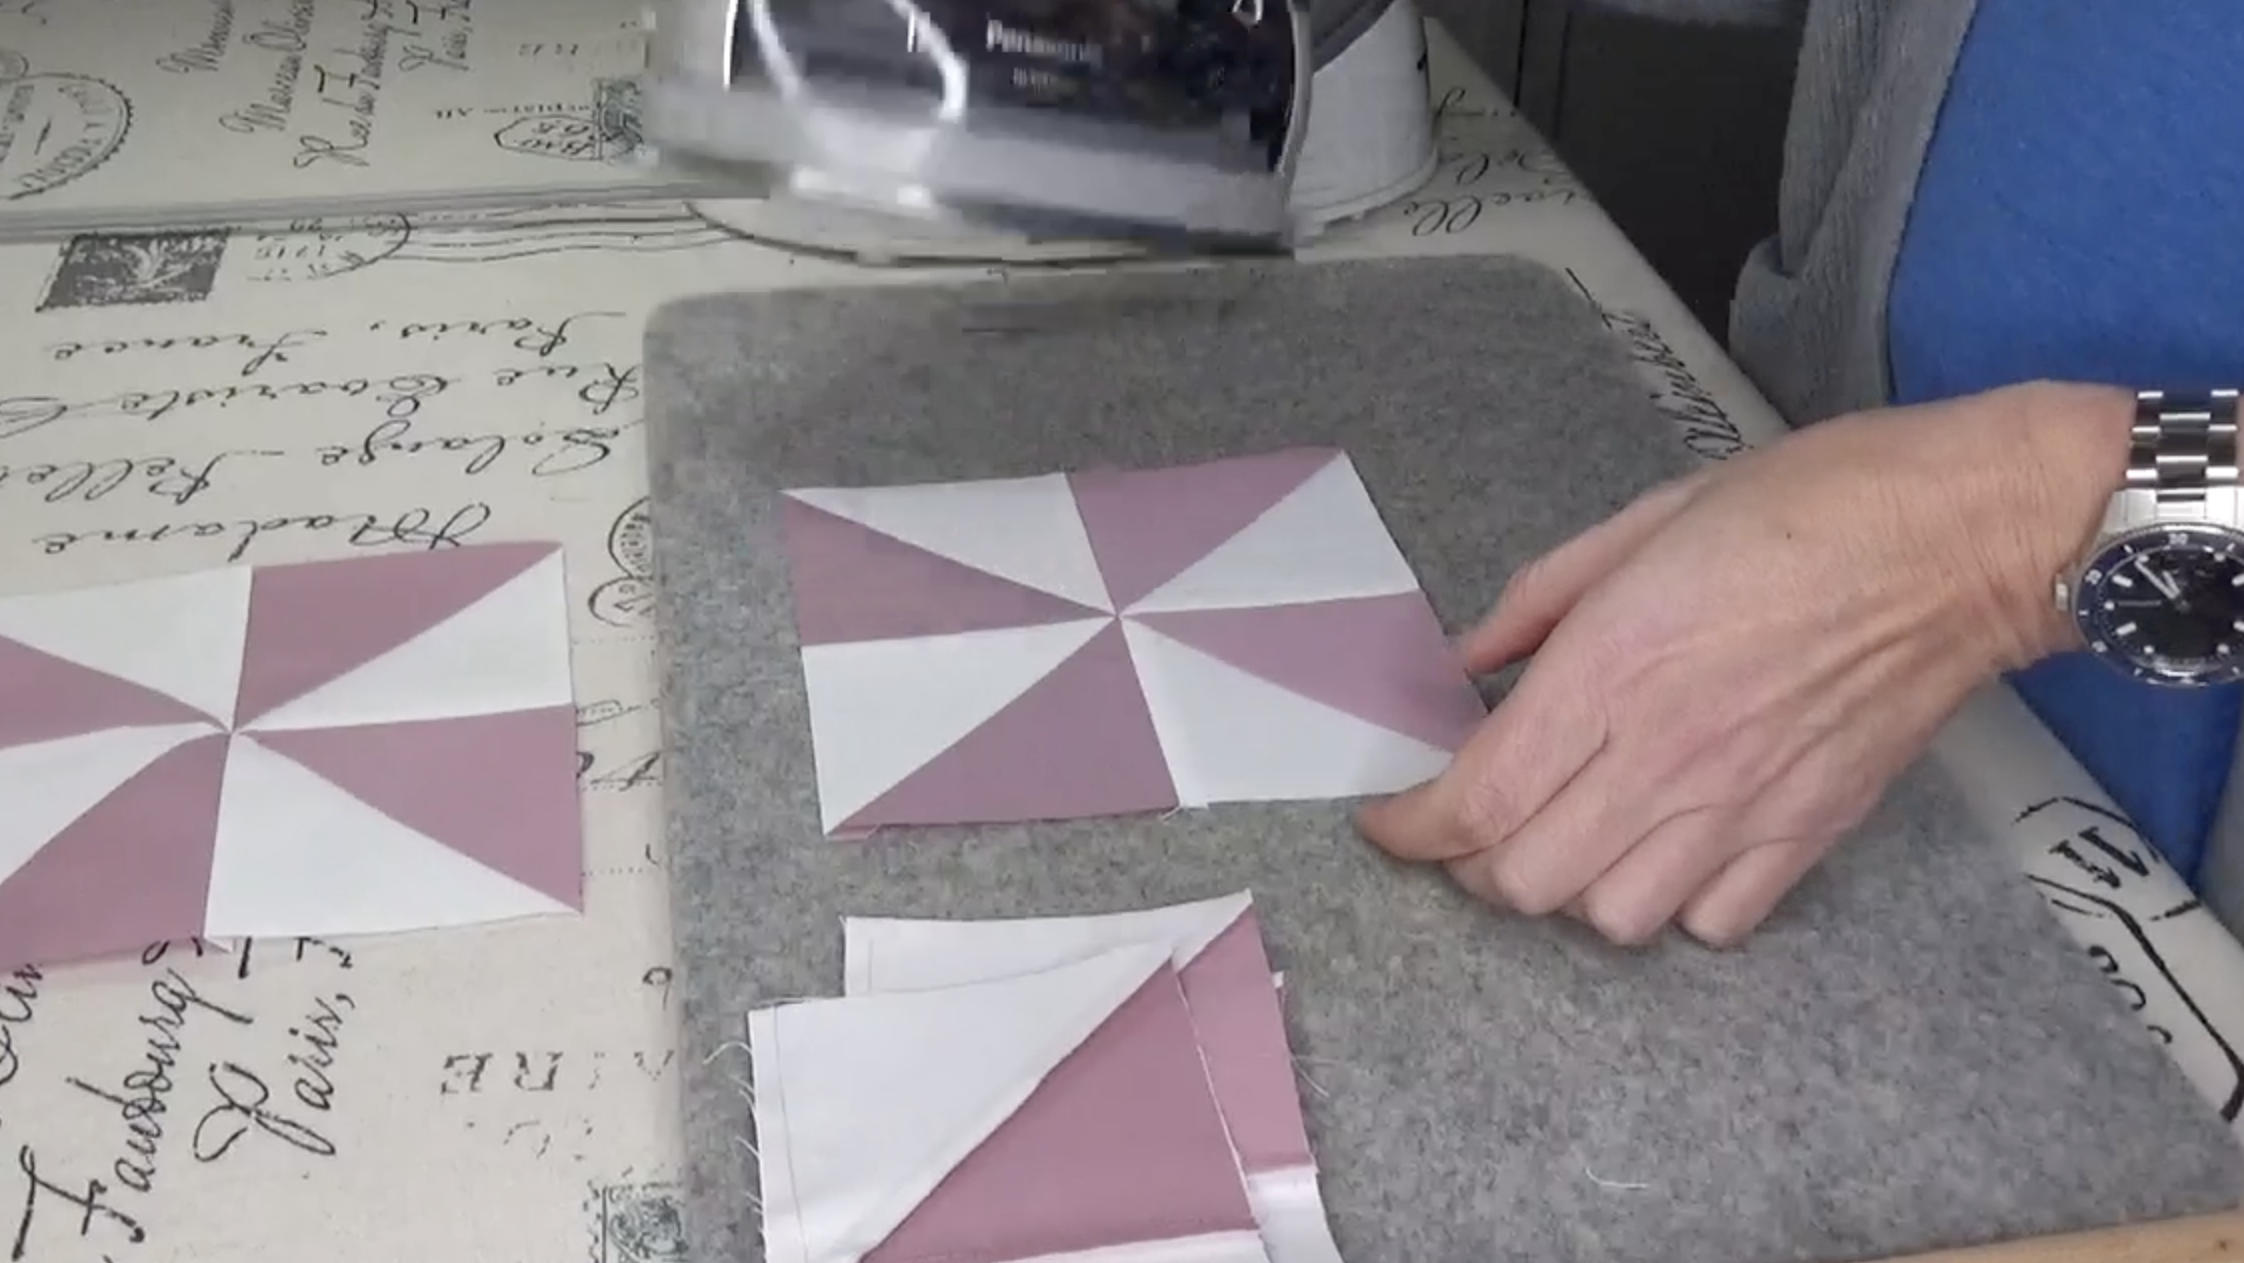
This week in the Skill Builder Quilt Along, we’re taking our half-square triangles and sewing them into pinwheel blocks.
Pinwheels are a classic quilt design made from four half-square triangles arranged so the points appear to spin around the block's center. They’re cheerful, dynamic, and a great way to practice working with triangle units.
A Pressing Trick That Makes Pinwheels Lie Flat
Whenever multiple seams meet in the center of a block, bulk can quickly build up.
Instead of pressing every seam to one side, many quilters use a technique called spinning the seams for pinwheel blocks.
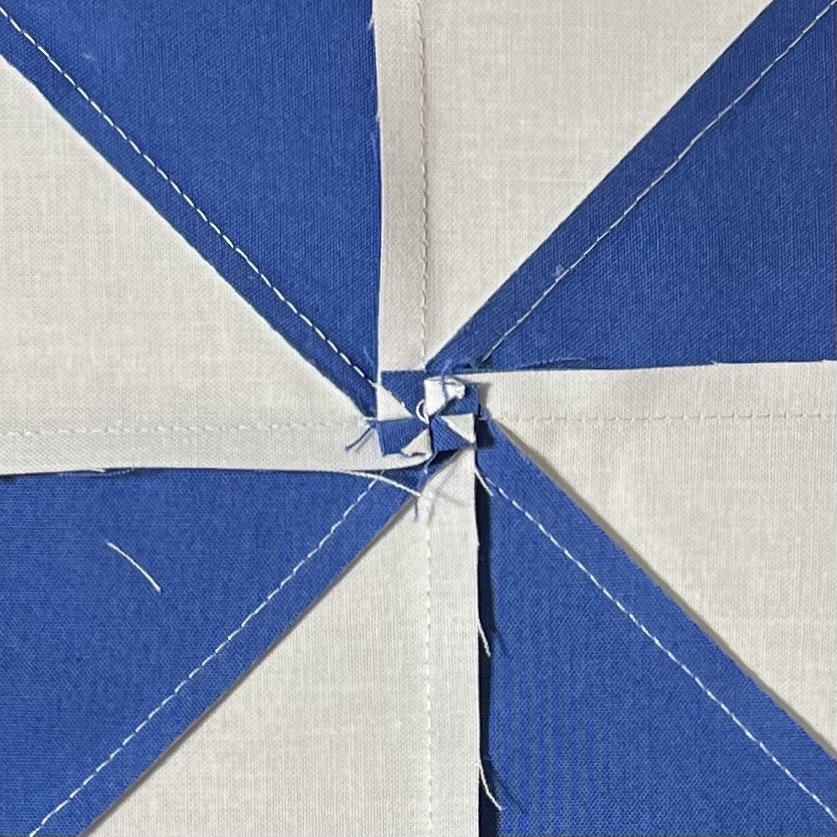
Here’s the basic idea:
Once the pinwheel block is sewn together, you gently loosen a few stitches right at the center of the block. This allows the seam allowances to rotate so they press in a circular direction around the center point.
The seams spread out like the blades of a tiny pinwheel, which helps reduce bulk and allows the block to lie beautifully flat.
It’s a small detail, but it can make a noticeable difference in the finished quilt.
Why Half-Square Triangles Are Such an Important Skill
Half-square triangles show up in countless quilt patterns.
Stars, pinwheels, flying geese variations, diamonds, zigzags, and many traditional quilt blocks all rely on this simple unit.
Learning efficient methods, such as the 8-at-a-time technique, helps quilters build those designs faster and with greater confidence.
Want to Practice These Skills Together?
If you’d like step-by-step guidance while building your quilting skills, the Skill Builder Quilt Along was designed exactly for that.
Each week focuses on a different foundational quilting technique, from strip piecing to half-square triangles and more. Participants sew the blocks step-by-step and gradually assemble them into a finished quilt.
Along the way, you’ll learn:
- Practical piecing techniques to improve accuracy
- Tips that make quilting faster and easier
- How to combine simple units into classic quilt blocks
- And the confidence that comes from finishing a quilt yourself
By the end of the quilt along, you won’t just have a beautiful quilt, you’ll have a set of skills you can use in countless future projects.
If you’d like to join us, click or tap the links or image to sign up.
Skill Builder Preview: What’s Coming Next
If you’ve been following the quilt along so far, you’ve already seen what participants are learning. Next week, we’re tackling flying geese four at a time. This is my favorite no-waste method for making these blocks.