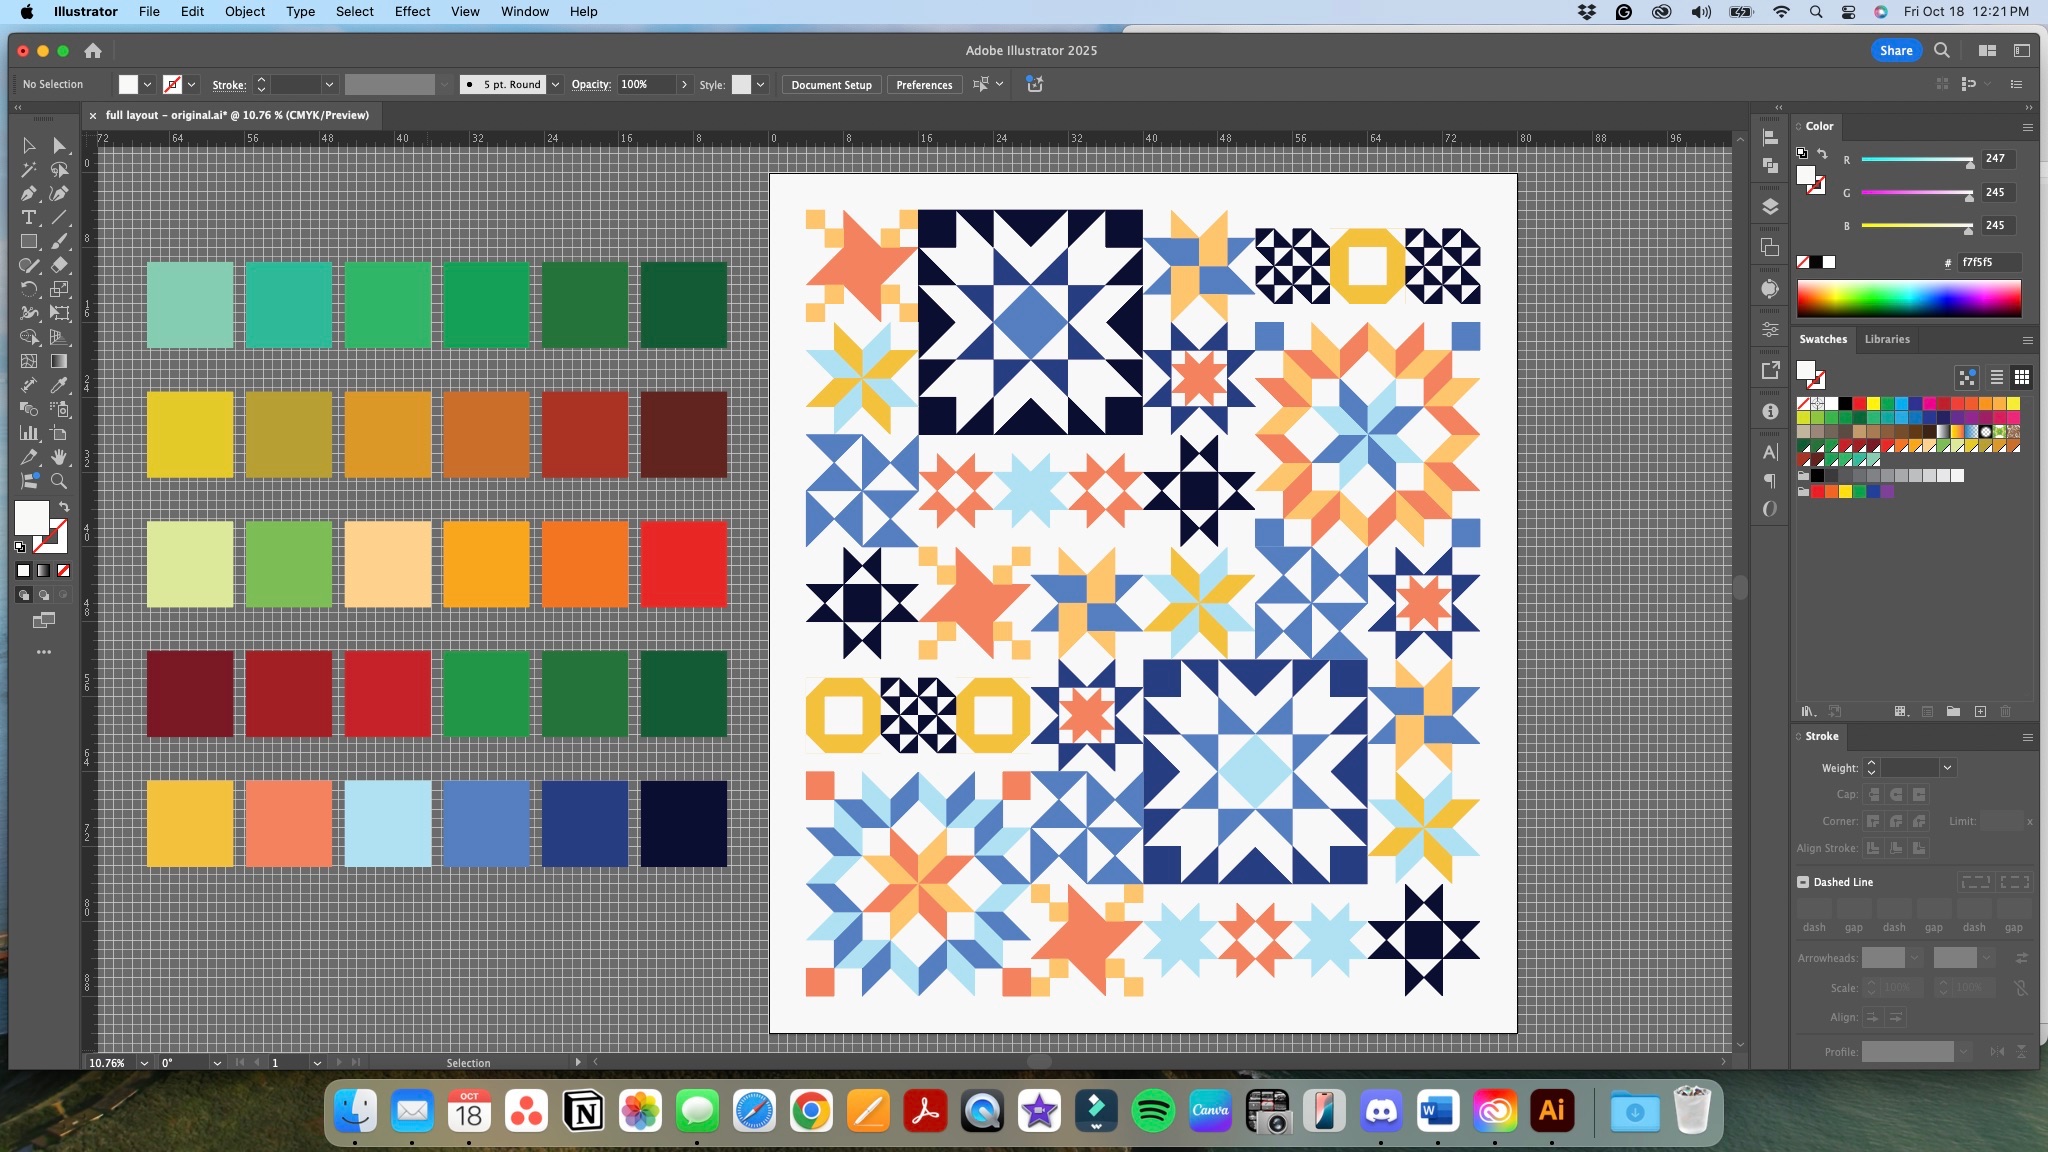
Since I launched my most extensive quilt pattern, I wanted to share a behind-the-scenes look at how I design quilt patterns. I will try not to get too deep in the weeds, but you should enjoy this if you’re a process person. I break it down into five steps: design, calculate, write, make, photograph. I hope you enjoy it!
Design

I first open a new document in Adobe Illustrator to the size I want the finished quilt to be. This is usually 60” x 60”, and I’m so grateful I invested in better memory and a processor when I bought my laptop. When I start this step, I have a general idea of what I’m going for, but some things I consider for new designs are whether to focus on a certain shape or technique. Is there a color palette I want to use when creating a secondary design? Sometimes things don’t click during this session, and I save the file to look at it with fresh eyes later. When it does work, I usually have a solid design within a couple of hours of playing with shapes and moving them around the screen.
Calculate

Now, it’s time to start doing some math. I grab my Thoughts & Feelings notebook and count the shapes I need and how they will best be cut from fabric. Once I know how many strips I need, I can add those numbers by color and divide by 36 to get the total yardage. I lock myself into any mistakes by cutting only the fabric I need from the bolt. If I run out of fabric during the making phase – or have too much leftover – I know I need to start double-checking the math for mistakes. This is my first check to ensure the pattern works.
Writing

Now that I know the shapes and how they will be cut and pieced together. I keep a bank of instructions that I copy from so my half-square triangle diagrams and instructions are consistent across all my patterns. If I have a new shape or technique, I’ll write that up and flag it as new for my technical editor. She goes through the pattern after I make my first sample to ensure that everything that makes sense to me will make sense to you. I create all my diagrams in Adobe Illustrator as well. Once I have a solid set created, it’s just a matter of changing out colors to match the new pattern design.
Making

Now that the pattern is written and the fabric is chosen, it’s time to make the first sample. I limit myself to the fabric requirements I calculated, but I also force myself to slow down and follow the directions solely as they are written. This can be hard when you’ve been quilting as long as I have, but I have caught a couple of mistakes this way. I also try to take process pictures as I go to have them for tutorials or videos later and when I’m marketing the pattern. These also make great sneak peek images for behind-the-scenes content! Once I’ve validated everything in the making process, I finalize any last-minute edits and send the pattern to the technical editor and to pattern testers for their feedback.
Photographing

Now it’s time for their Glamor Shots moment. I use a quilt hanger to get a full, flat image of the whole quilt, but I also like to get more natural shots. When I released Poinsettia last year, we had a nice enough day that I went outside to wrap up and get Scott to take some pictures. I also love this outtake from a photo shoot with Holland. I stepped away for a minute, and William hopped up, apologizing for being late to the shoot! I was happy to oblige and used his picture for the initial launch.

It’s time to pull all the feedback and pictures into the pattern and prepare them for launch. I export the entire file to PDF and post it to my store. And that's how a pattern gets from my brain to your hands!