You’re partway through a quilt, you flip it over, and the back looks like a science experiment. Loops everywhere, or stitches that barely show up at all. Welcome to tension trouble.
Tension is how your top thread and bobbin thread meet and loop around each other inside your quilt sandwich. When the two threads work together properly, your stitches look balanced on both sides. When they aren’t, you’ll know it right away.
Most modern machines do a pretty good job of handling tension automatically. But automatic doesn’t mean foolproof. Every quilter runs into tension trouble eventually. The good news is that almost all of it is fixable, and most of the fixes don’t involve touching the dial.
One quick note before we start. Different machines work differently. Always check your machine’s user guide before making bigger adjustments, especially anything involving the bobbin case.
What Balanced Tension Looks Like (And What it Doesn’t)
Your tension is balanced when the top and bobbin threads loop together right in the middle of your quilt sandwich. You can’t see the top thread peeking through on the back, and you can’t see the bobbin thread peeking through on the front. The stitches sit flat and even.
Your tension is too tight when you can see the bobbin thread peeking through on the front of the quilt. Tight tension can also cause puckers and stitches that look pinched. The fix is to loosen the dial.
Your tension is too loose when you can see the top thread looping on the back of the quilt. Loose tension also causes skipped stitches and the dreaded “eyelashes,” those little loops that show up on the back when free motion quilting. The fix is to tighten the dial.
On most machines, higher dial numbers mean tighter tension and lower numbers mean looser. Yours might work differently, so check before you turn.
Check These Things First
Touching the tension dial should be the last move, not the first. You’ll be surprised how often the real problem is somewhere else entirely. Work through this list in order, top to bottom. Most tension problems are solved by the time you get halfway down.
1. Rethread Your Machine
This fixes more tension problems than anything else, so try it first. Pop the thread out of your machine completely, raise the presser foot (this opens the tension discs so the thread can sit right between them), and rethread carefully.
A few things to watch for as you rethread.
- Is the thread unspooling the right way? Check your user guide if you’re not sure.
- Did you skip any thread guides? Even one missed guide can throw off your tension.
- Is there a sticker or burr on your spool catching the thread? I can’t tell you how many times a sticker has been the whole problem for me.
2. Change Your Needle
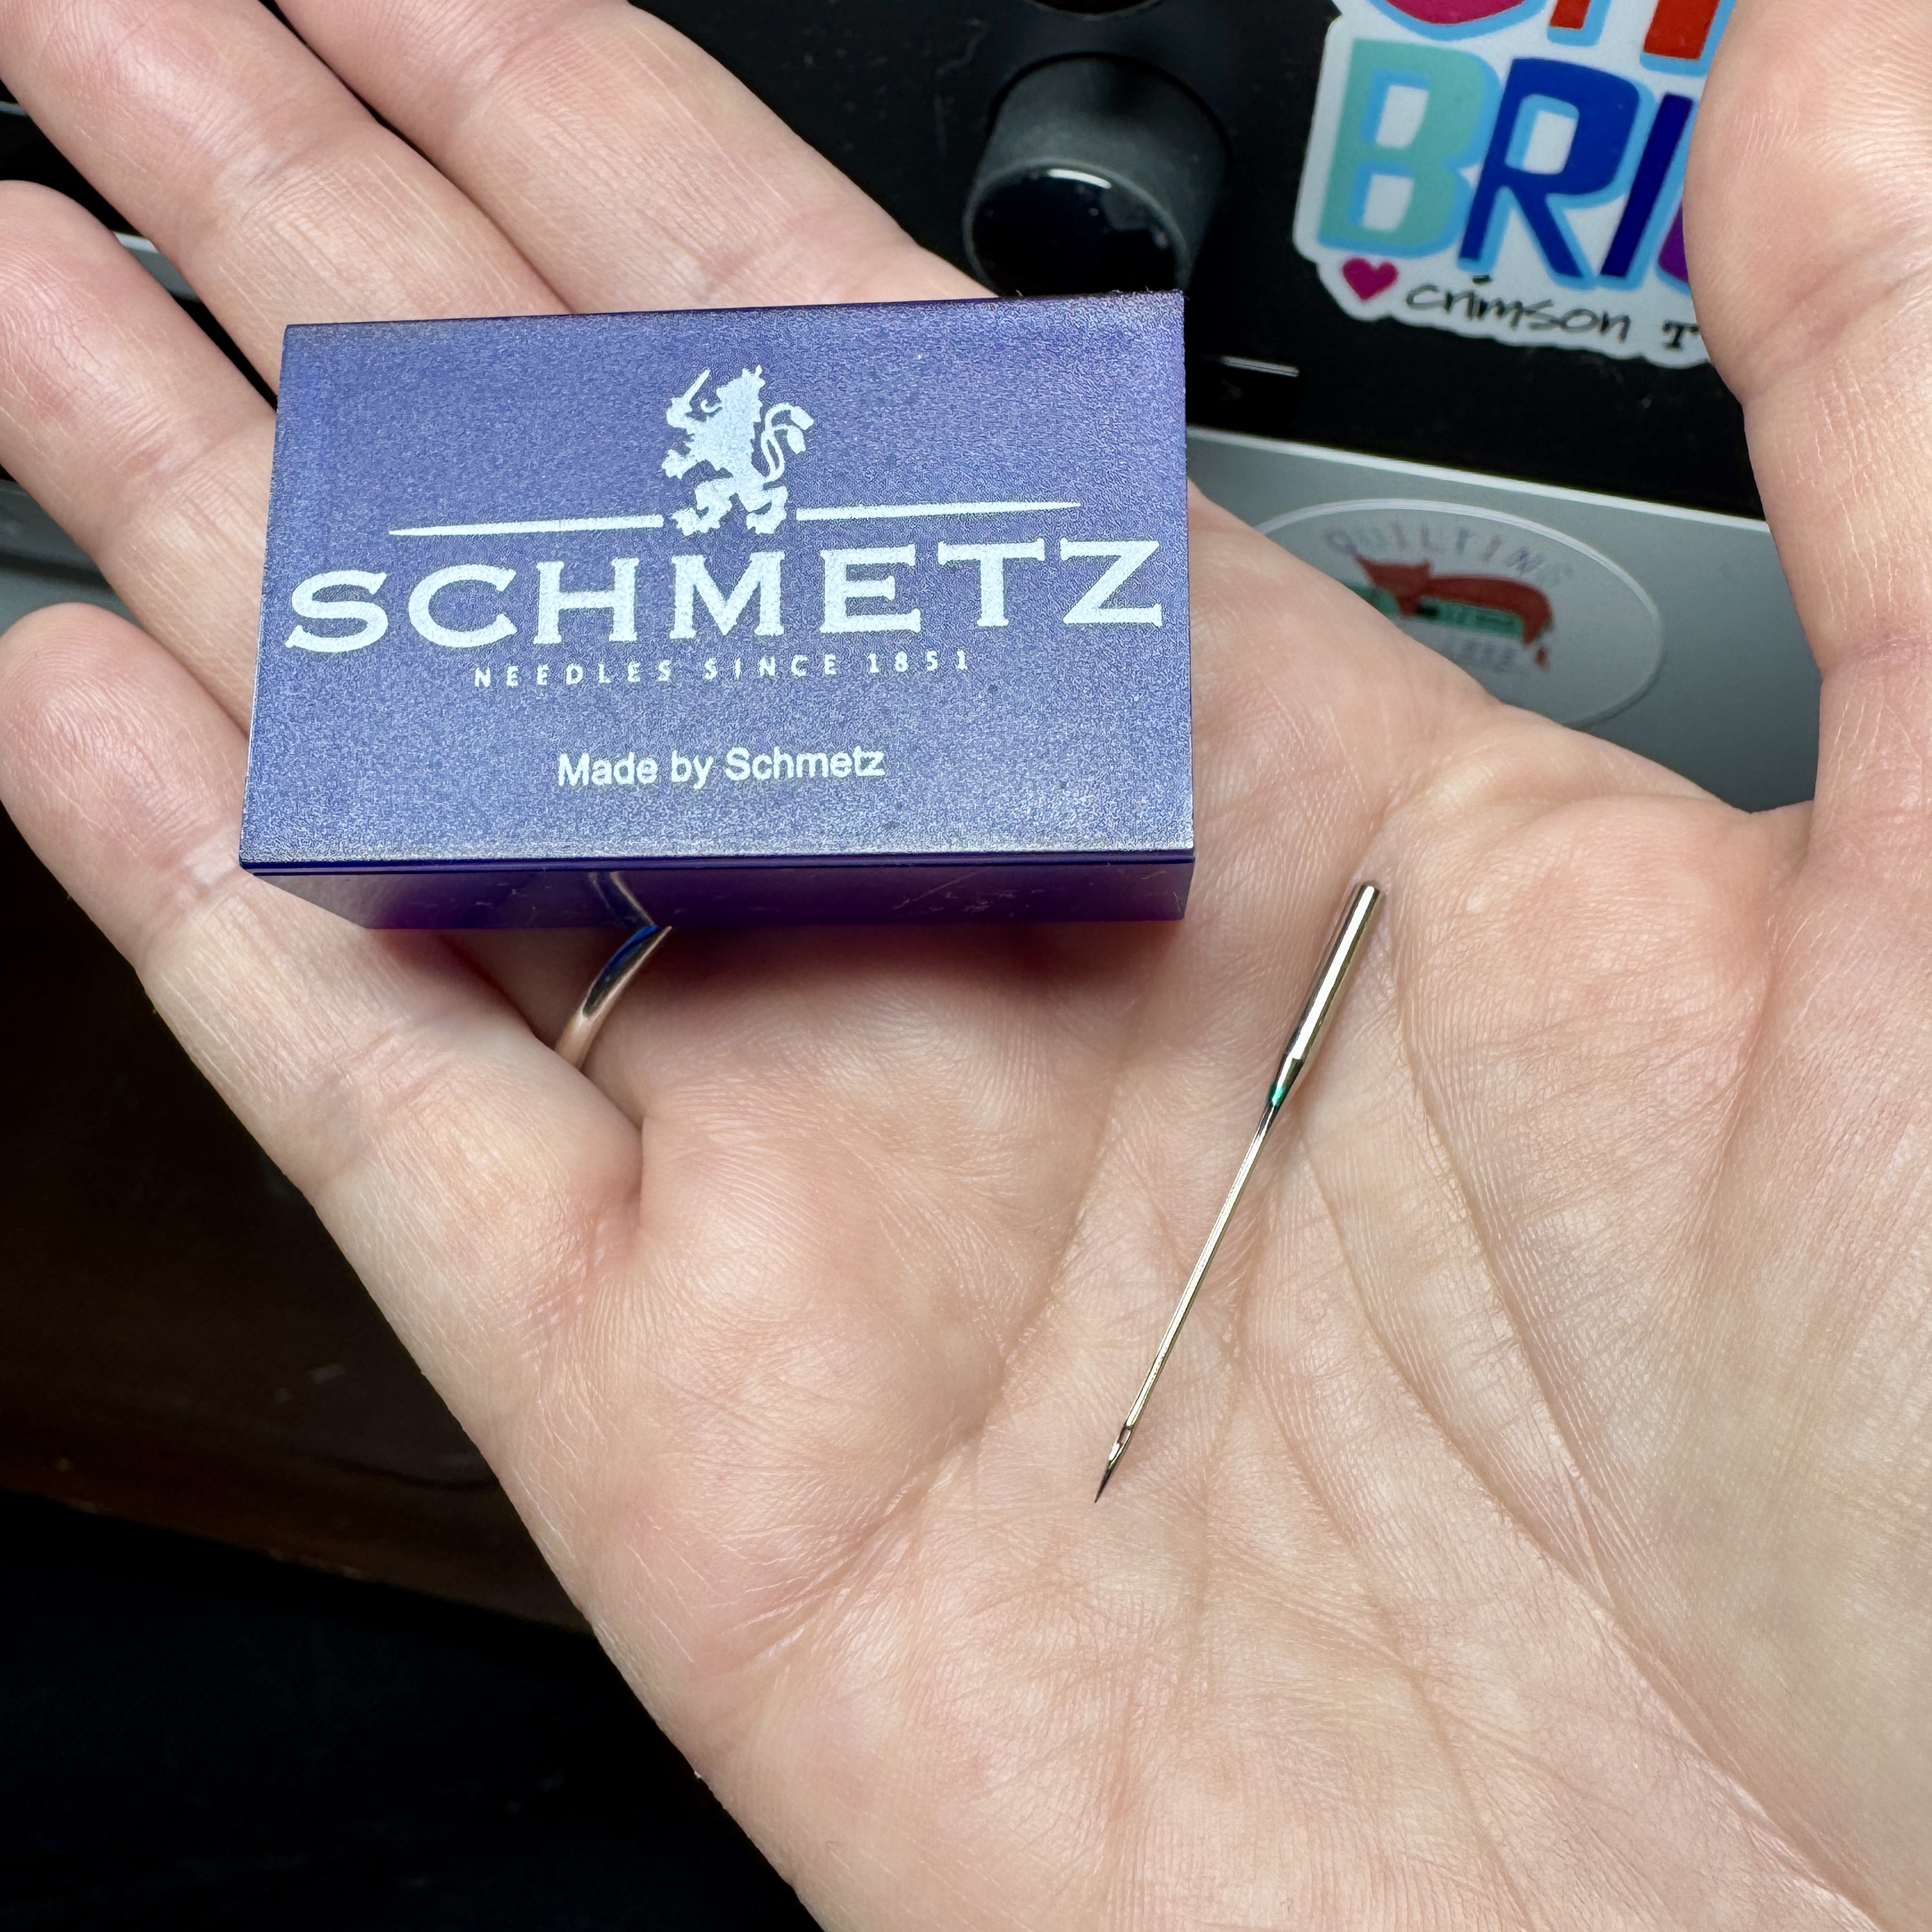
When was the last time you changed it? Most quilters wait way too long. A dull or bent needle drags through fabric and pulls the thread weirdly, which shows up as tension trouble.
A fresh needle takes 30 seconds and fixes more issues than people realize. Make it your second move.
While you’re at it, check that your needle size matches your thread. A 50-weight thread is happy with a size 80/12. Heavier threads need a bigger needle. A needle eye that’s too small for the thread drags. A needle eye that’s too big leaves loose loops.
3. Check Your Thread
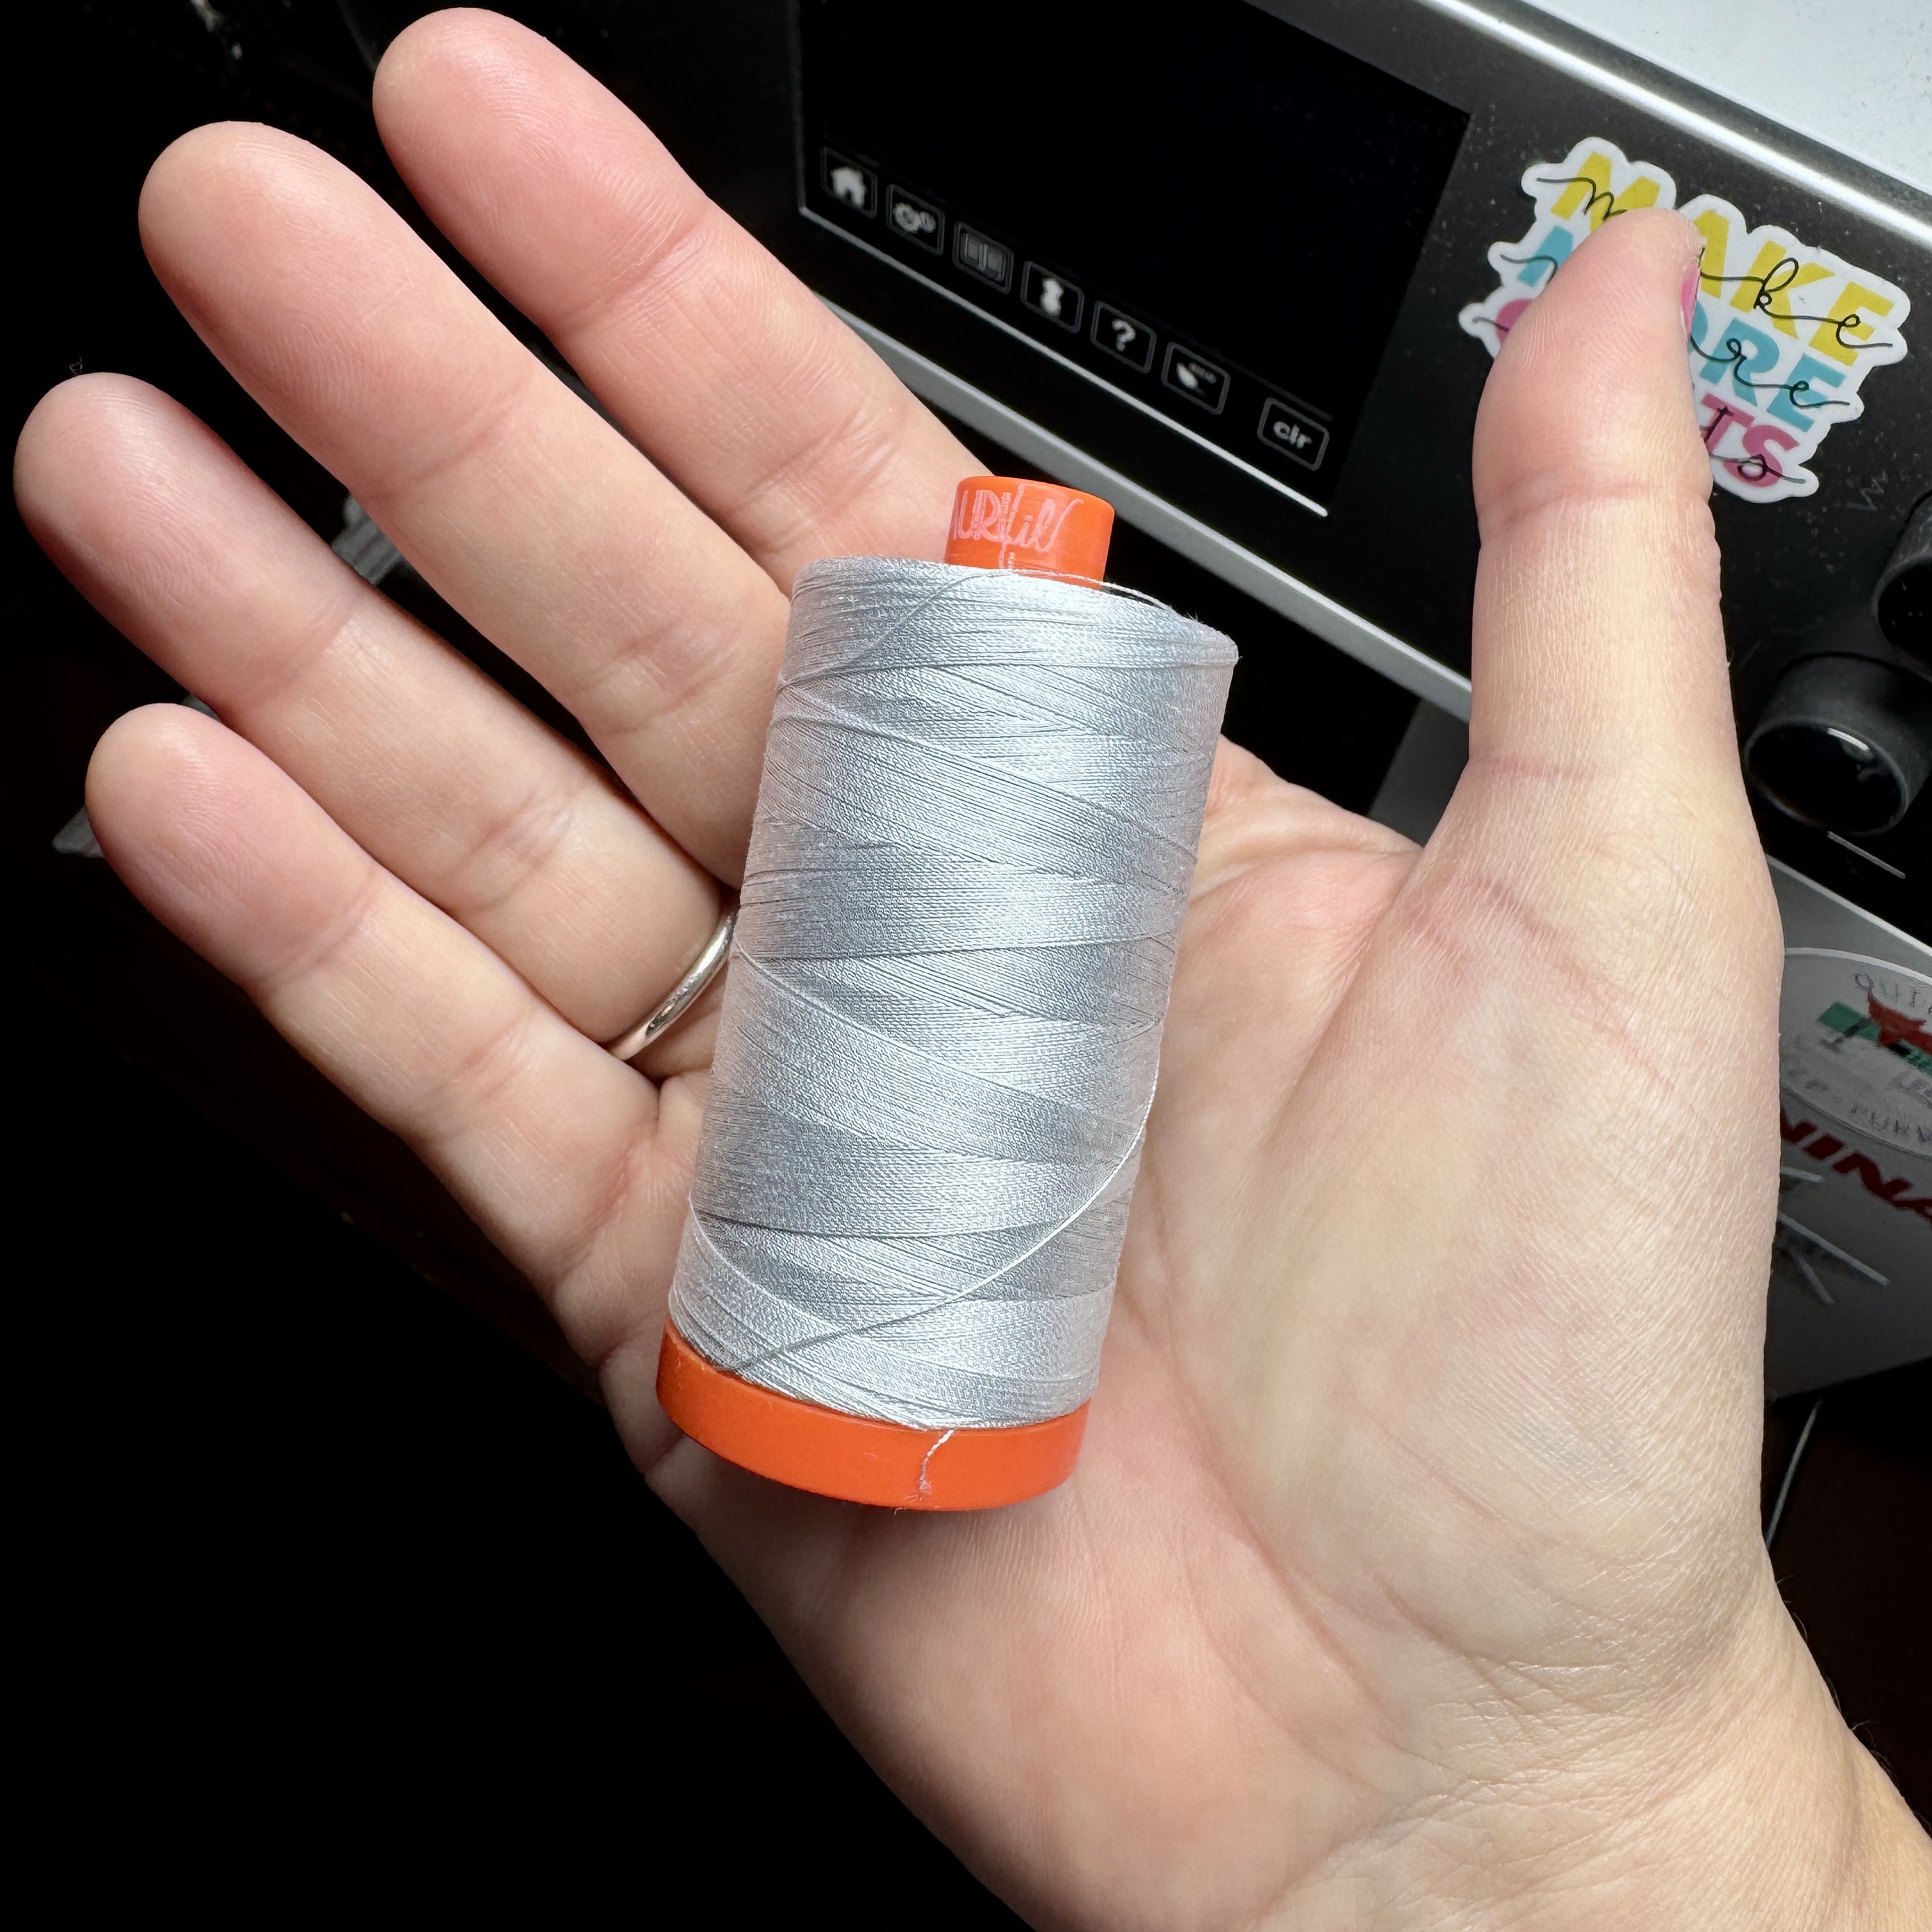
Old thread, cheap thread, and thread that’s been sitting on a sunny shelf for a decade will misbehave. If a spool has been hanging around forever, swap it for a fresh one and see if that fixes things.
Match your top and bobbin thread weights, too. A heavy top thread paired with a fine bobbin thread fights itself.
4. Clean Your Tension Discs
This is the hidden cause nobody talks about. Lint builds up between the tension discs over time and quietly throws off your tension. Even on a brand-new machine.
If you feel comfortable, you can clear it yourself. Raise the presser foot (which opens the discs), then floss between them with a thin piece of folded fabric or a strip of muslin. You’d be amazed at what comes out of there.
If you’re not comfortable servicing your machine yourself, take it in
5. Check Your Bobbin and Bobbin Race
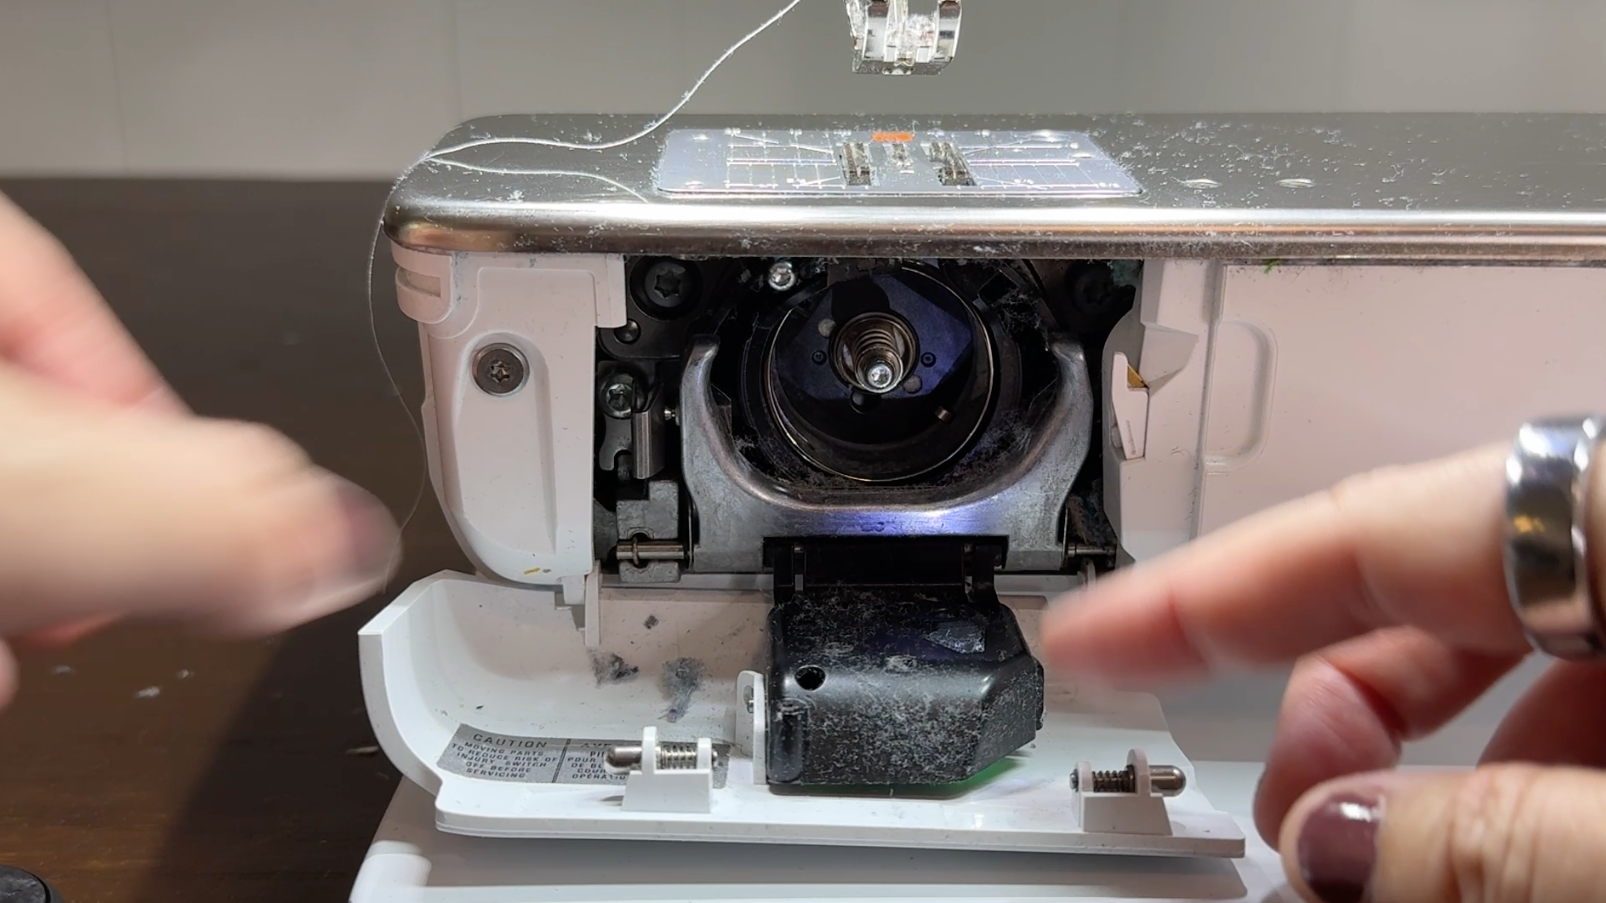
Pull the bobbin out and look at it. A bobbin that was wound unevenly, that’s almost out of thread, or that’s the wrong style for your machine will all cause tension trouble.
Then check the bobbin race. When was the last time you cleaned and oiled it? I had been quilting for a long time before I realized this needed to happen regularly. Check your user manual for how to clean it. Then put it back firmly. Double-check that the bobbin thread is looped correctly through the race so it catches the top thread.
And get all that lint out of there while you're at it.
6. Check Yourself
This one isn’t about the machine, but it matters. Your body and your headspace show up in your stitches.
Are your shoulders relaxed, back and down? Or are they hunched up trying to tell your ears a secret? Are your elbows at roughly 90-degree angles, or are you stretched out or scrunched up?
And what’s on your mind? If your head is still spinning from the day, your hands will be tense, and your machine will feel it.
If everything else checks out and your tension is still off, sometimes the best fix is a glass of water and a 10-minute break. Come back fresh and try again.
When You Do Need to Adjust the Dial
If you’ve worked through everything above and your tension still isn’t right, then it’s time to touch the dial. Move it a tiny bit at a time. Sew a test line. Look at both sides. Adjust again if you need to.
Higher numbers tighten the top tension. Lower numbers loosen it. Make small changes so you can tell which direction is helping.
Your Quick Tension Cheat Sheet
Save this for the next time something looks off on the back of your quilt.
- Bobbin thread peeking through on the front. Tension is too tight. Clean the tension discs first, then loosen the dial.
- Top thread looping on the back. Tension is too loose. Rethread first, then tighten the dial.
- Skipped stitches or eyelashes on the back. Start with the needle. Then check thread weight. Then adjust tension.
- Thread breaking constantly. Check the needle for damage, the thread for age, and your threading path before doing anything else.
A Quick Recap
Rethread first. Change the needle second. Check your thread third. Clean the tension discs fourth. Then your bobbin. Then yourself. Then, if everything else is good, the dial.
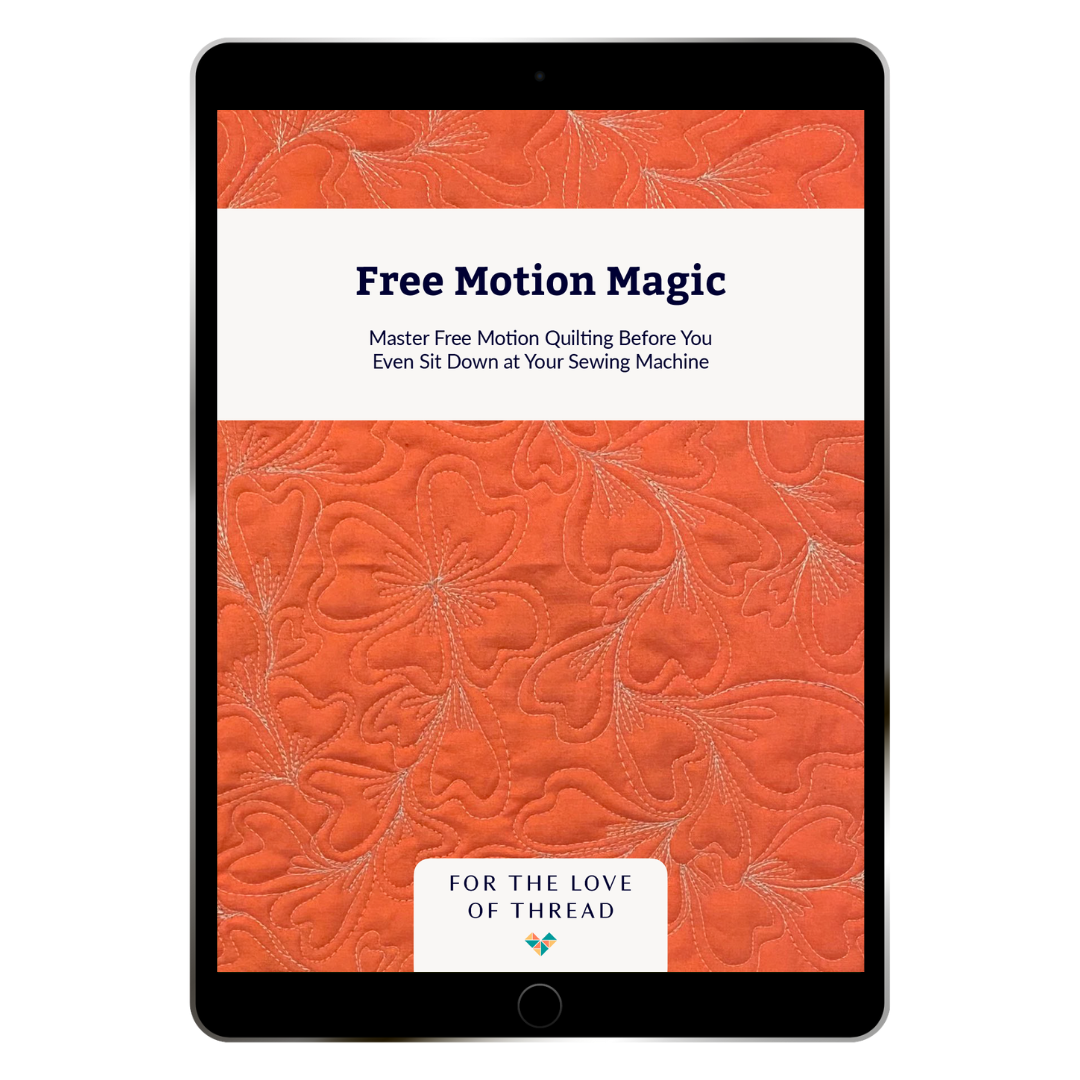
If you want to go deeper into the whole free motion quilting setup, I have a free course that gets you ready in an afternoon. Sign up for FMQ 101 today.