The quilting industry sells $5 billion worth of stuff every year. A lot of it shows up in the aisle labeled “for the quilting step,” that moment when you sit down to actually quilt your basted sandwich into a finished quilt. Most of it you don’t need.
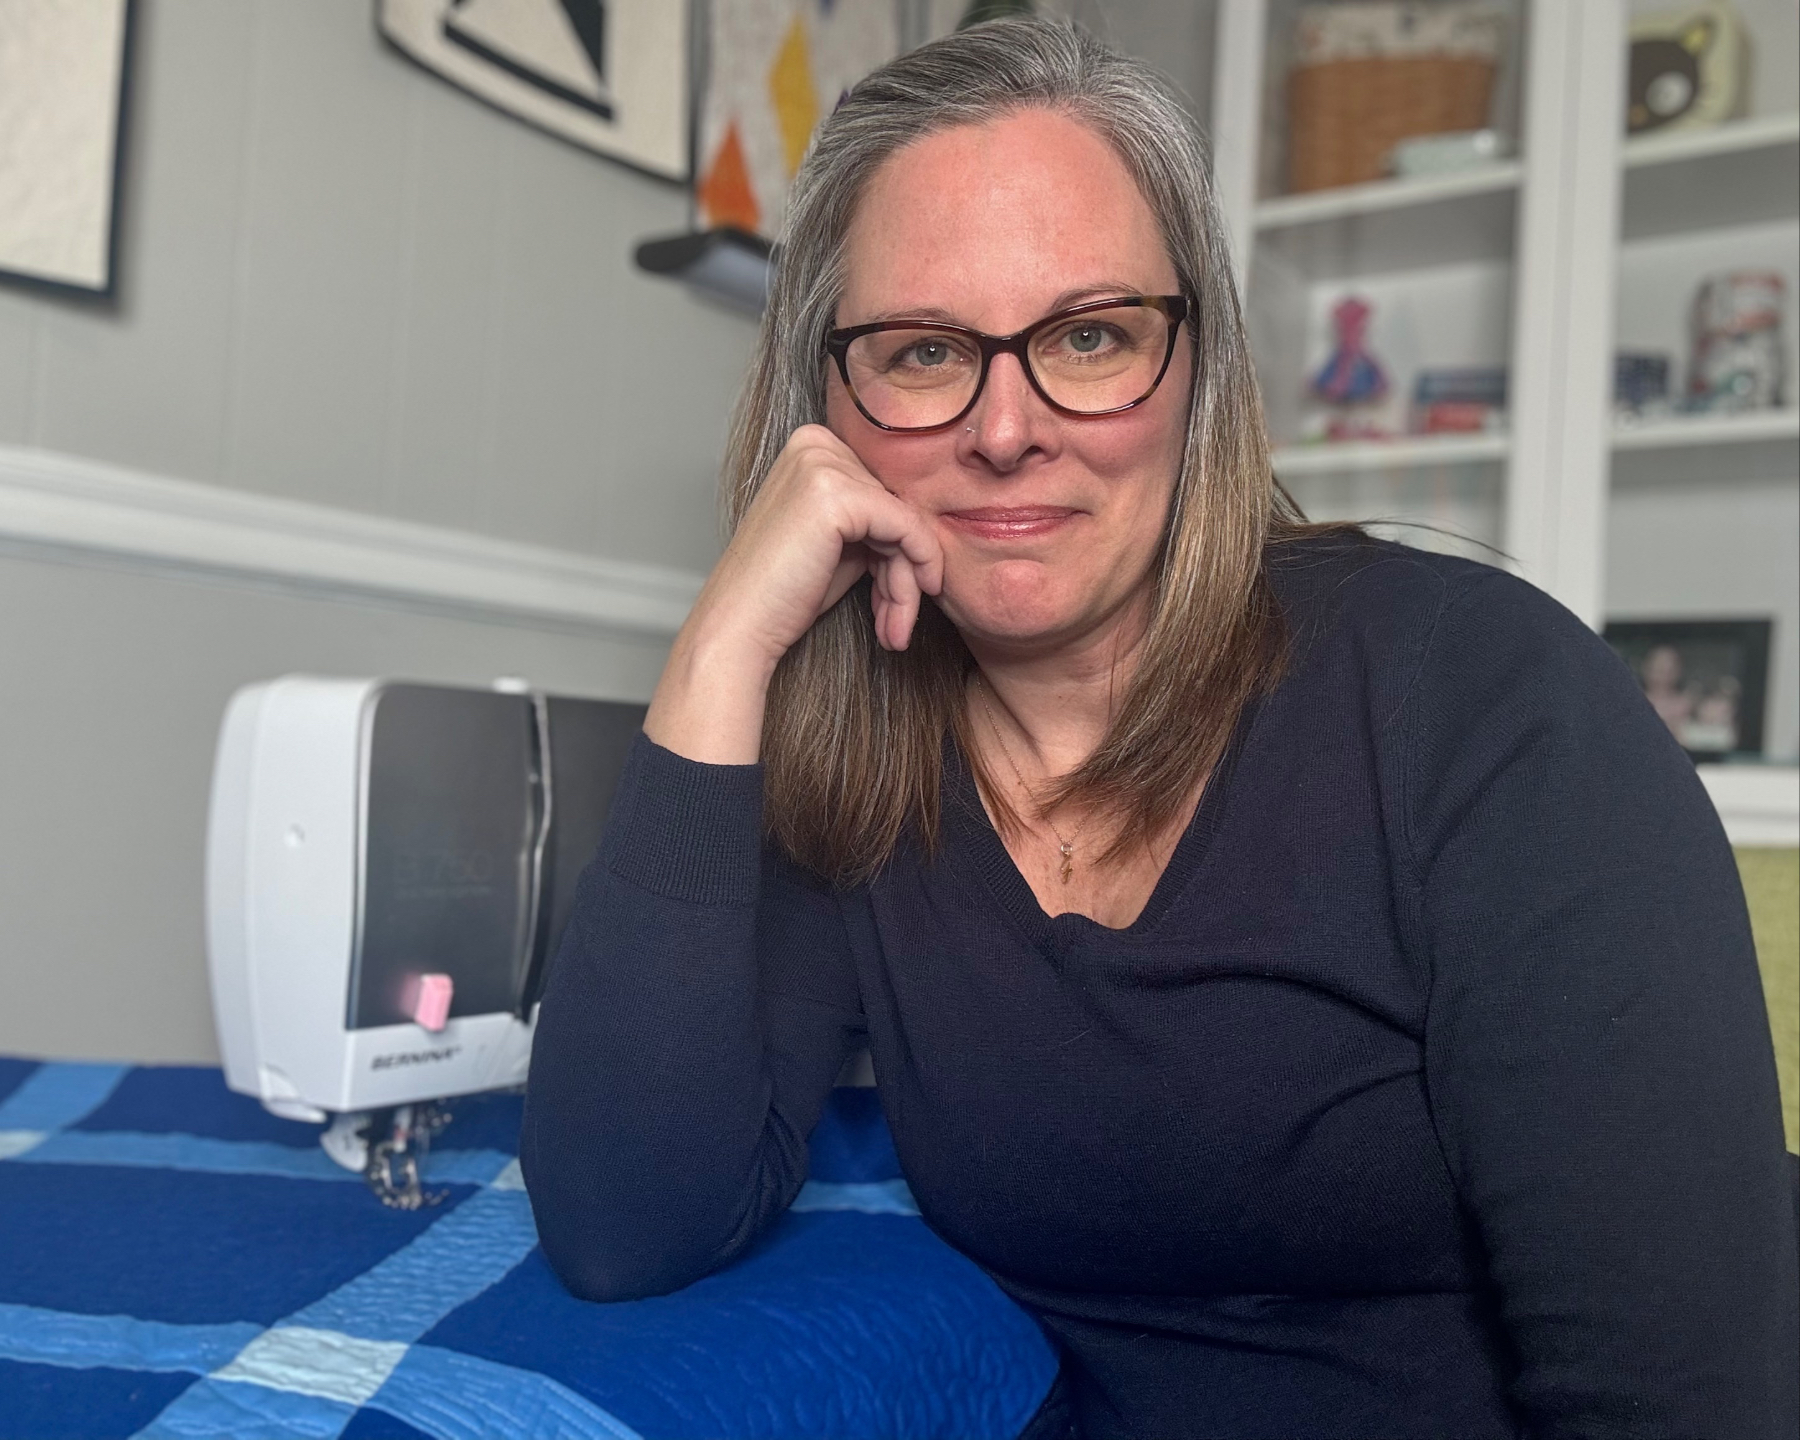
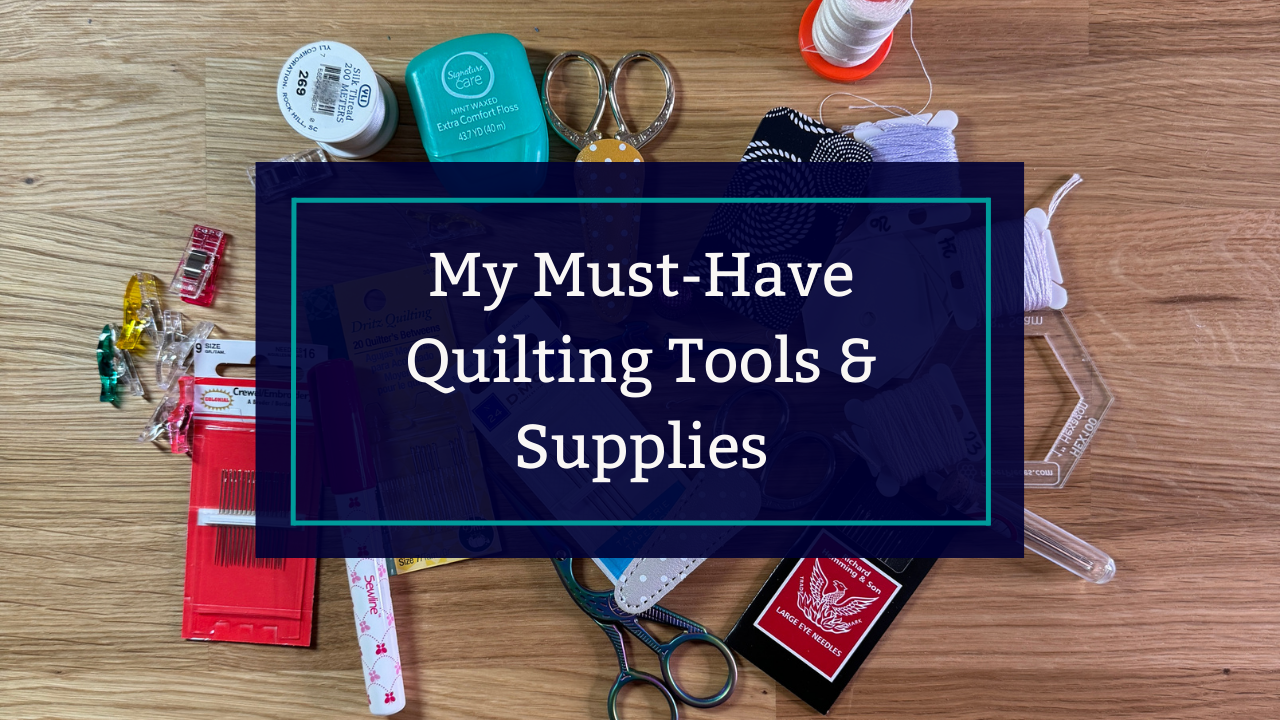
After 25 years of quilting, these are the tools I reach for every single time I quilt a quilt. They’re not the only things I own, but they’re the ones I’d be lost without when it’s time to put thread to the sandwich.
This post contains affiliate links. If you purchase something through my links, I’ll receive a small commission at no extra cost to you. Thank you for your support.
Plan and mark Your Quilting
Doodle Book
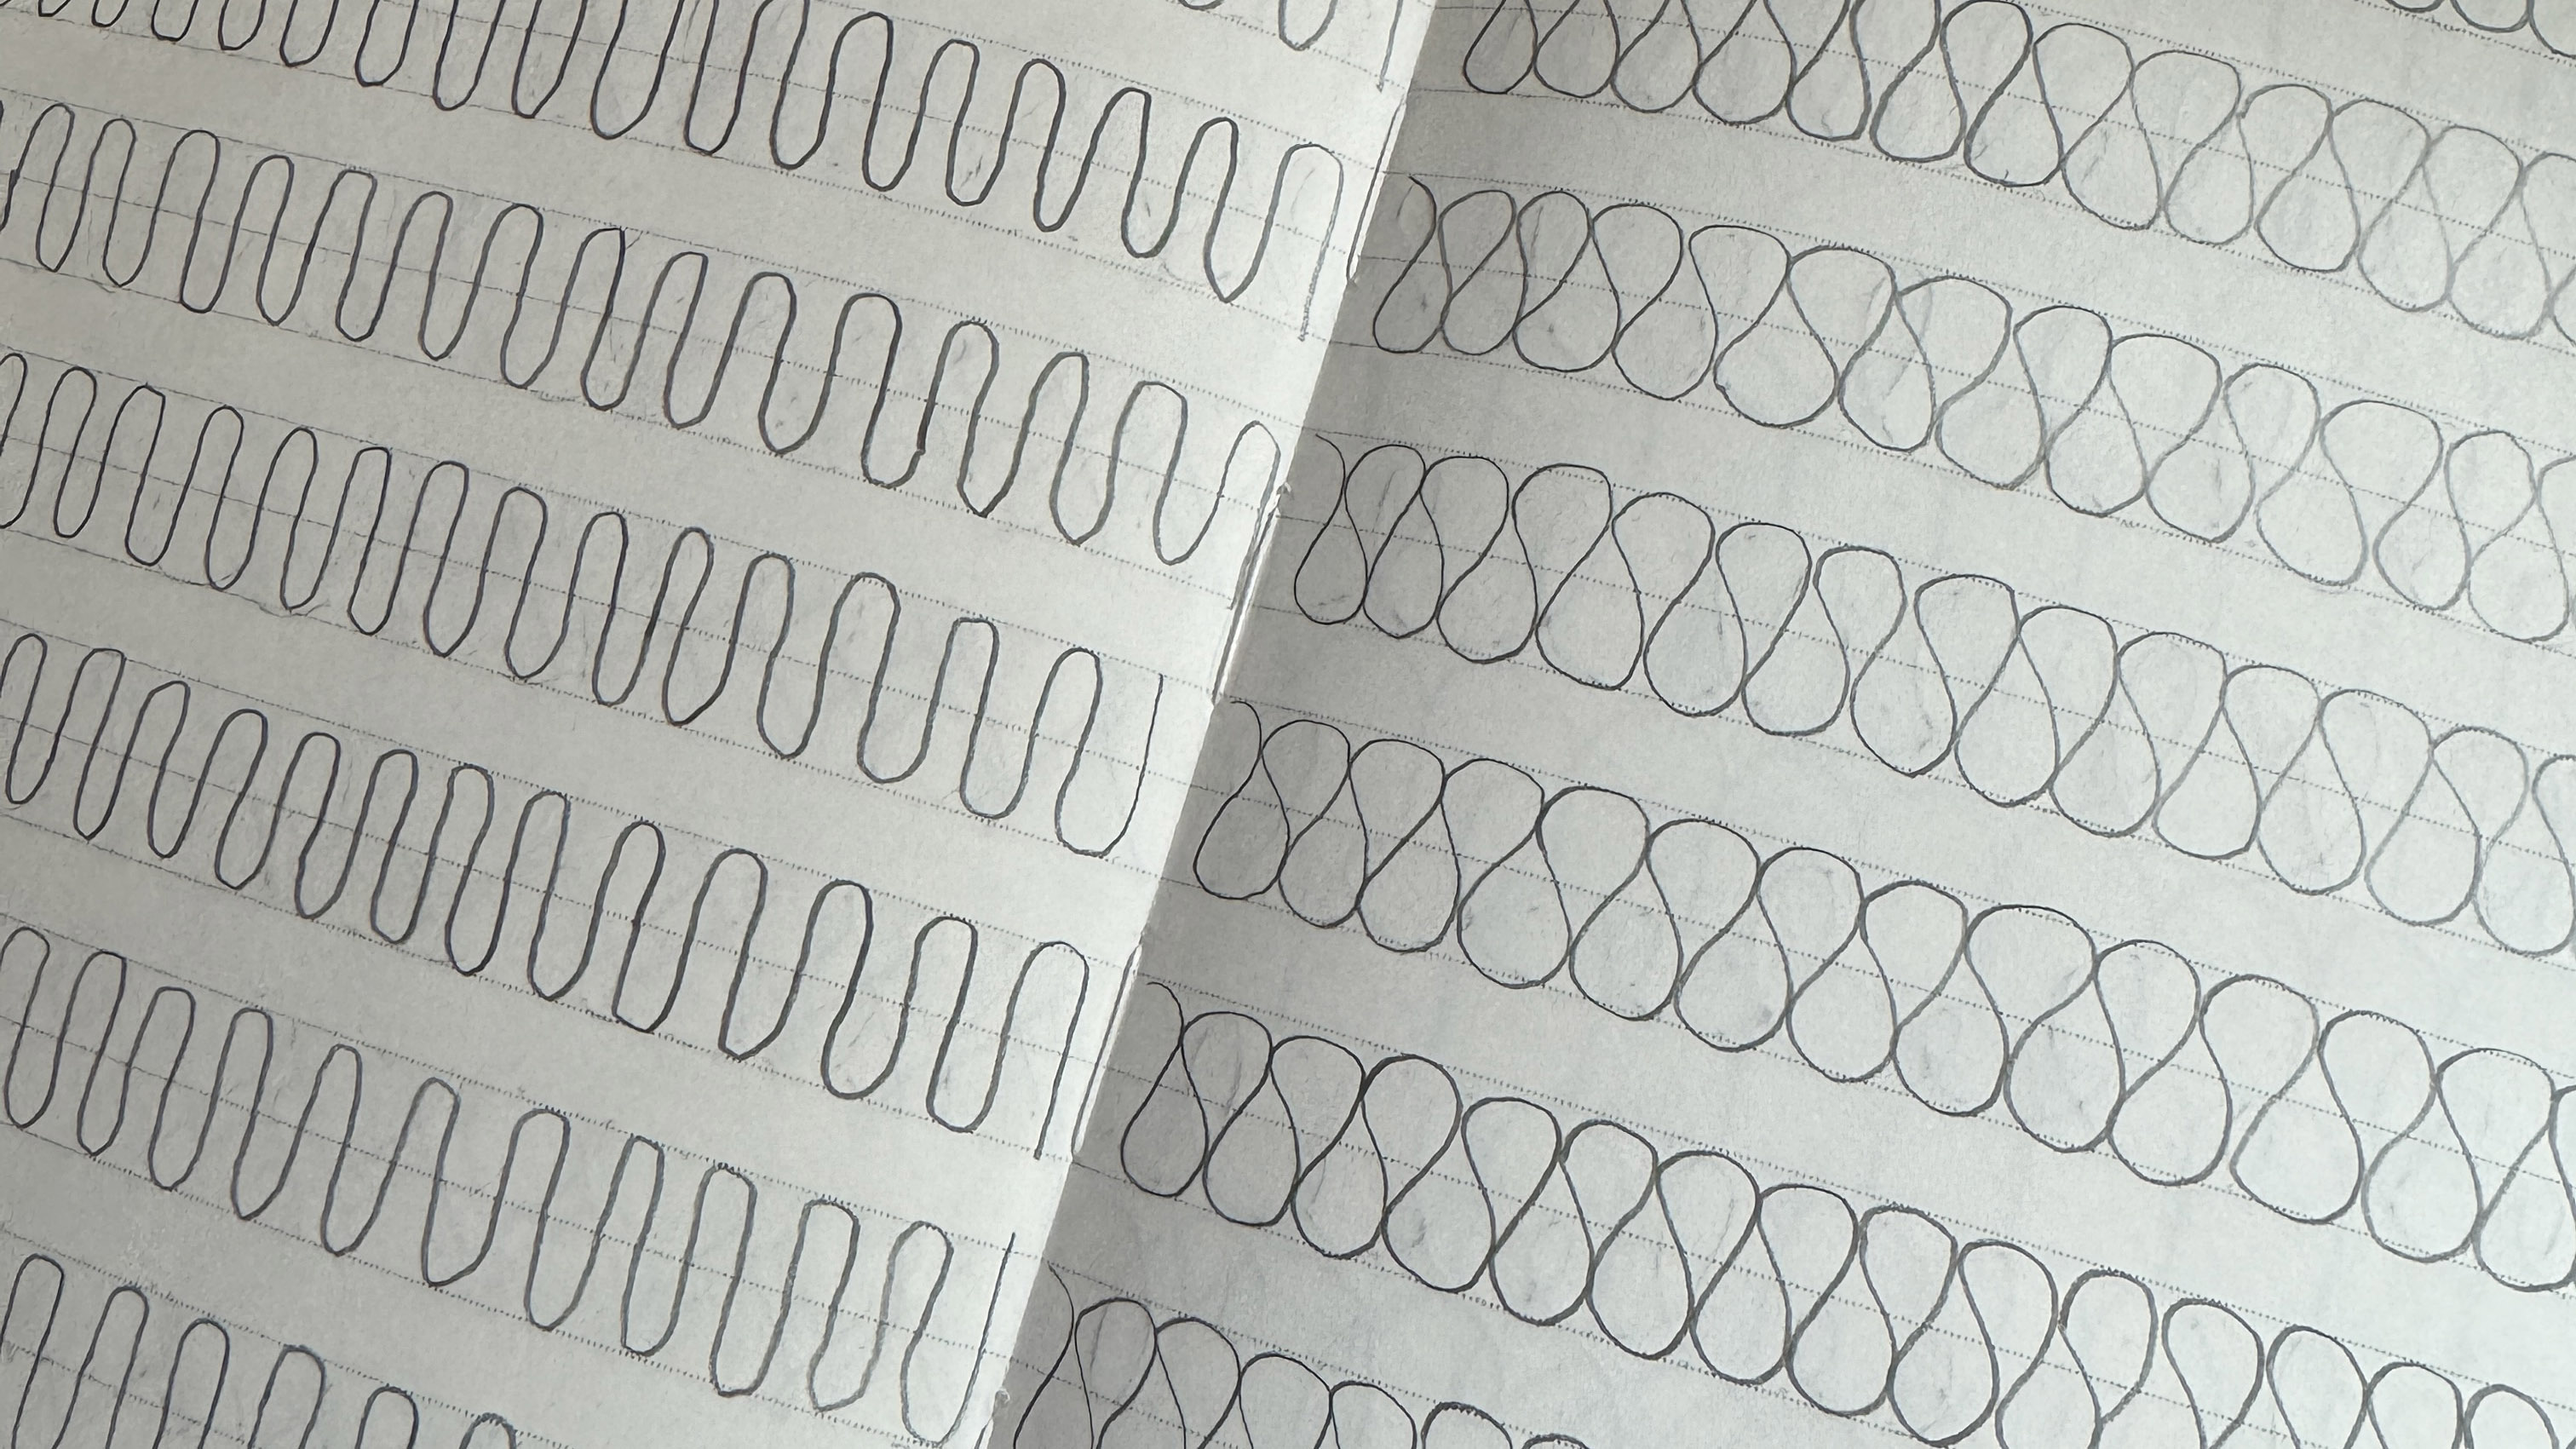
Before I ever sit down at the machine, I doodle the design I’m about to quilt. A few minutes with a pen on paper builds the muscle memory my hands will use under the needle. It’s the cheapest, easiest skill builder in quilting.
I keep a journal with lines or dots on the pages so I can practice keeping my designs at a consistent size. Any pen and any paper will do, but a journal you love makes you reach for it more often. (I wrote a full post on the power of doodling for free motion quilting if you want to go deeper.)
Hera Marker
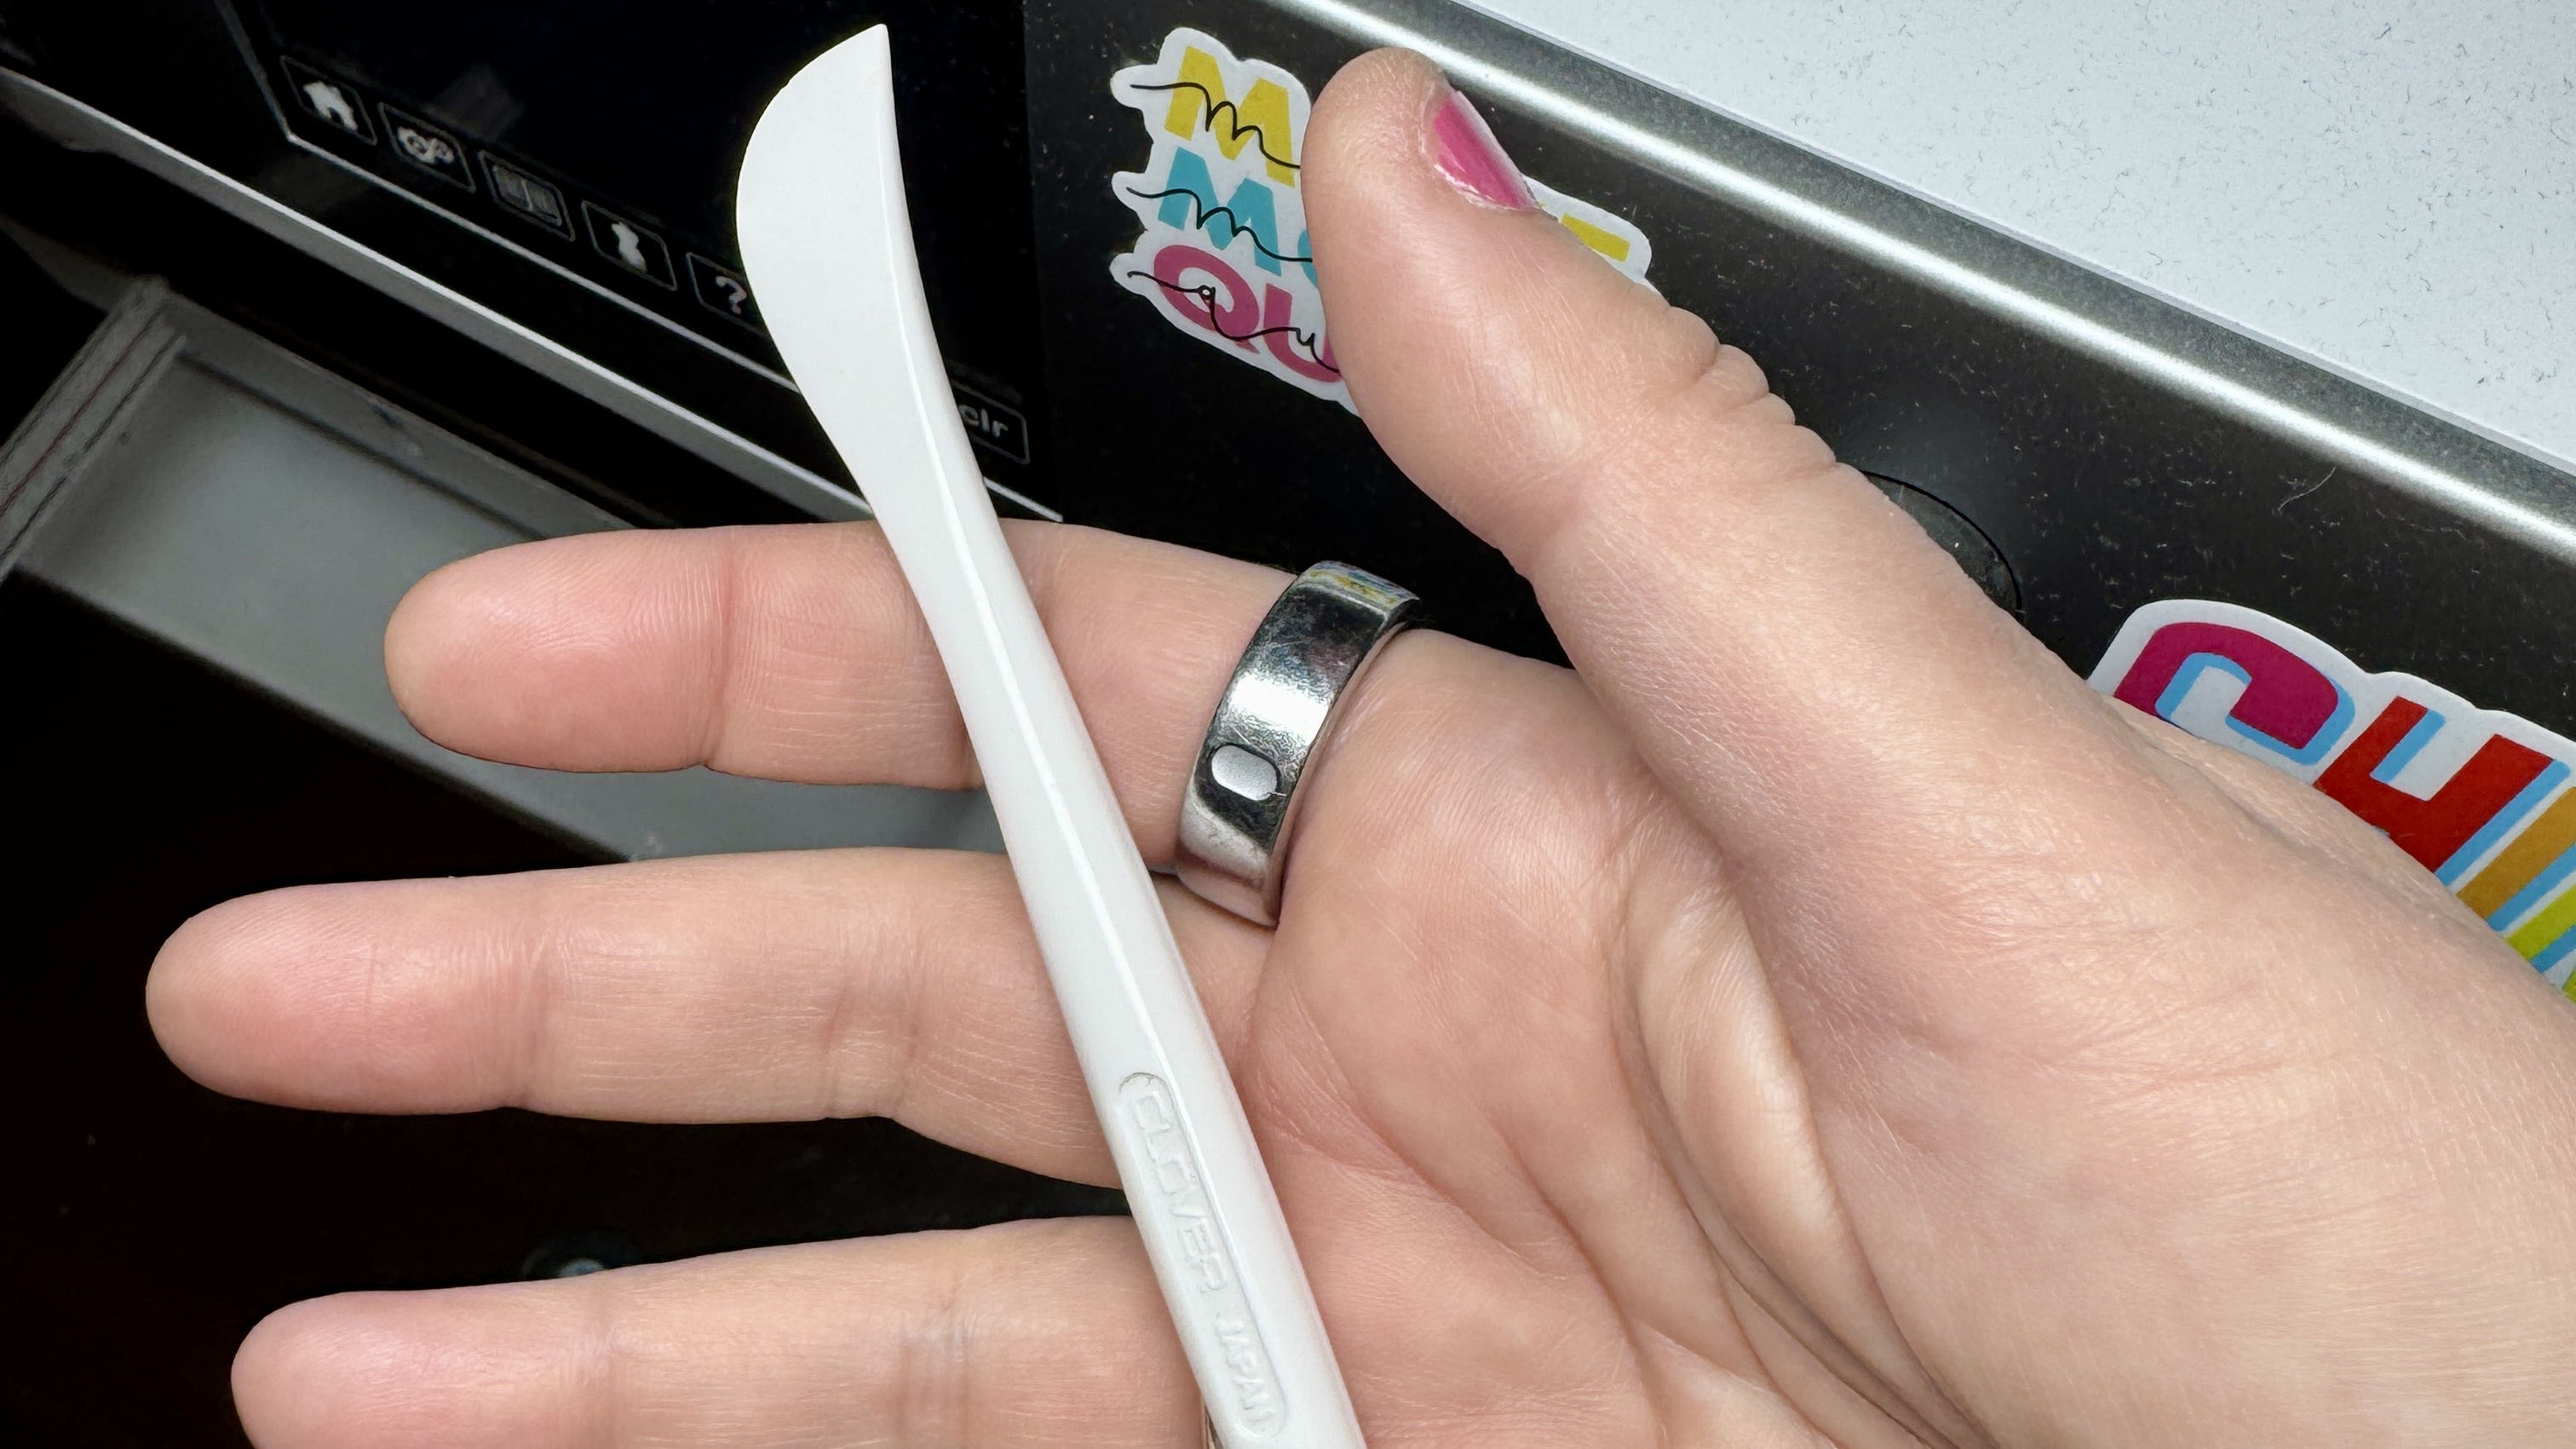
The Hera marker is my favorite marking tool. Other marking tools promise to vanish under water or heat, but I’ve heard far too many horror stories of quilters whose marks refused to disappear and ruined a quilt.
The Hera marker doesn’t add any ink to your fabric. You rub the tool over your quilt sandwich to create a crease, and that crease serves as your line. Quilt to the line, and there’s nothing to wash out or worry about later.
At the Sewing Machine
Needles
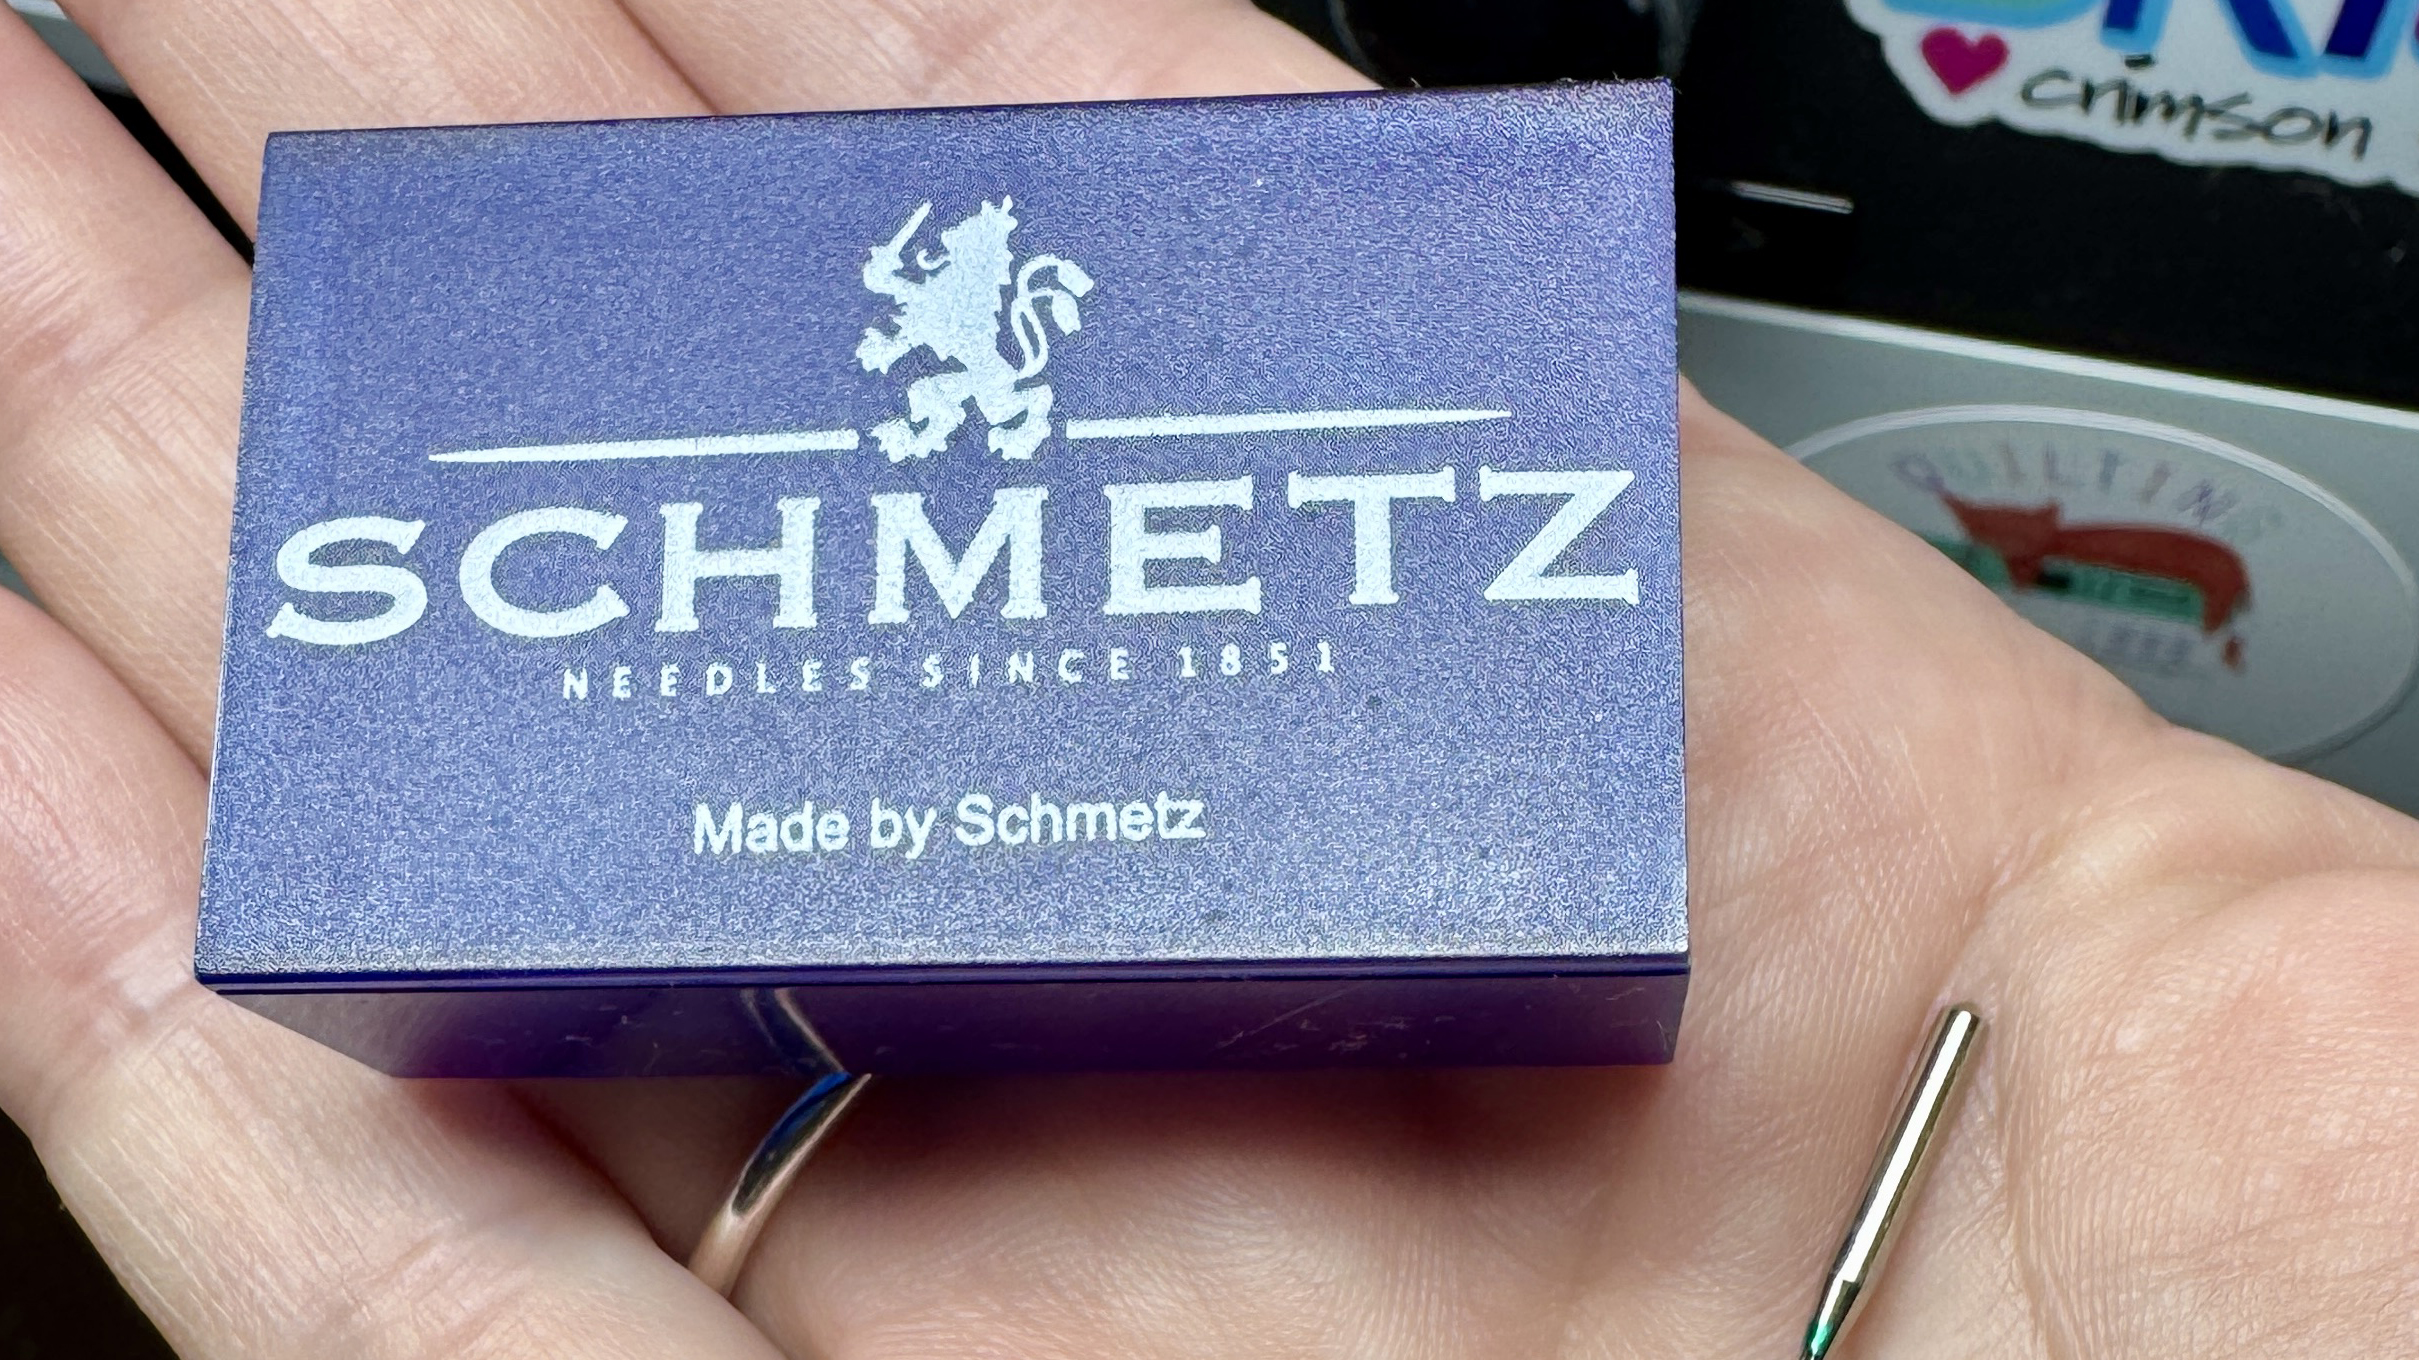
My go-to needles are Schmetz 70/10 needles with the green band. I use them for piecing, quilting, and binding, and they’ve never given me trouble with skipped stitches. I buy them in boxes of 100, and based on my order history, that’s about a four-year supply.
(If you’ve ever fought a needle that wasn’t behaving, my post on solving tension issues covers the troubleshooting steps that have saved my sanity.)
Thread
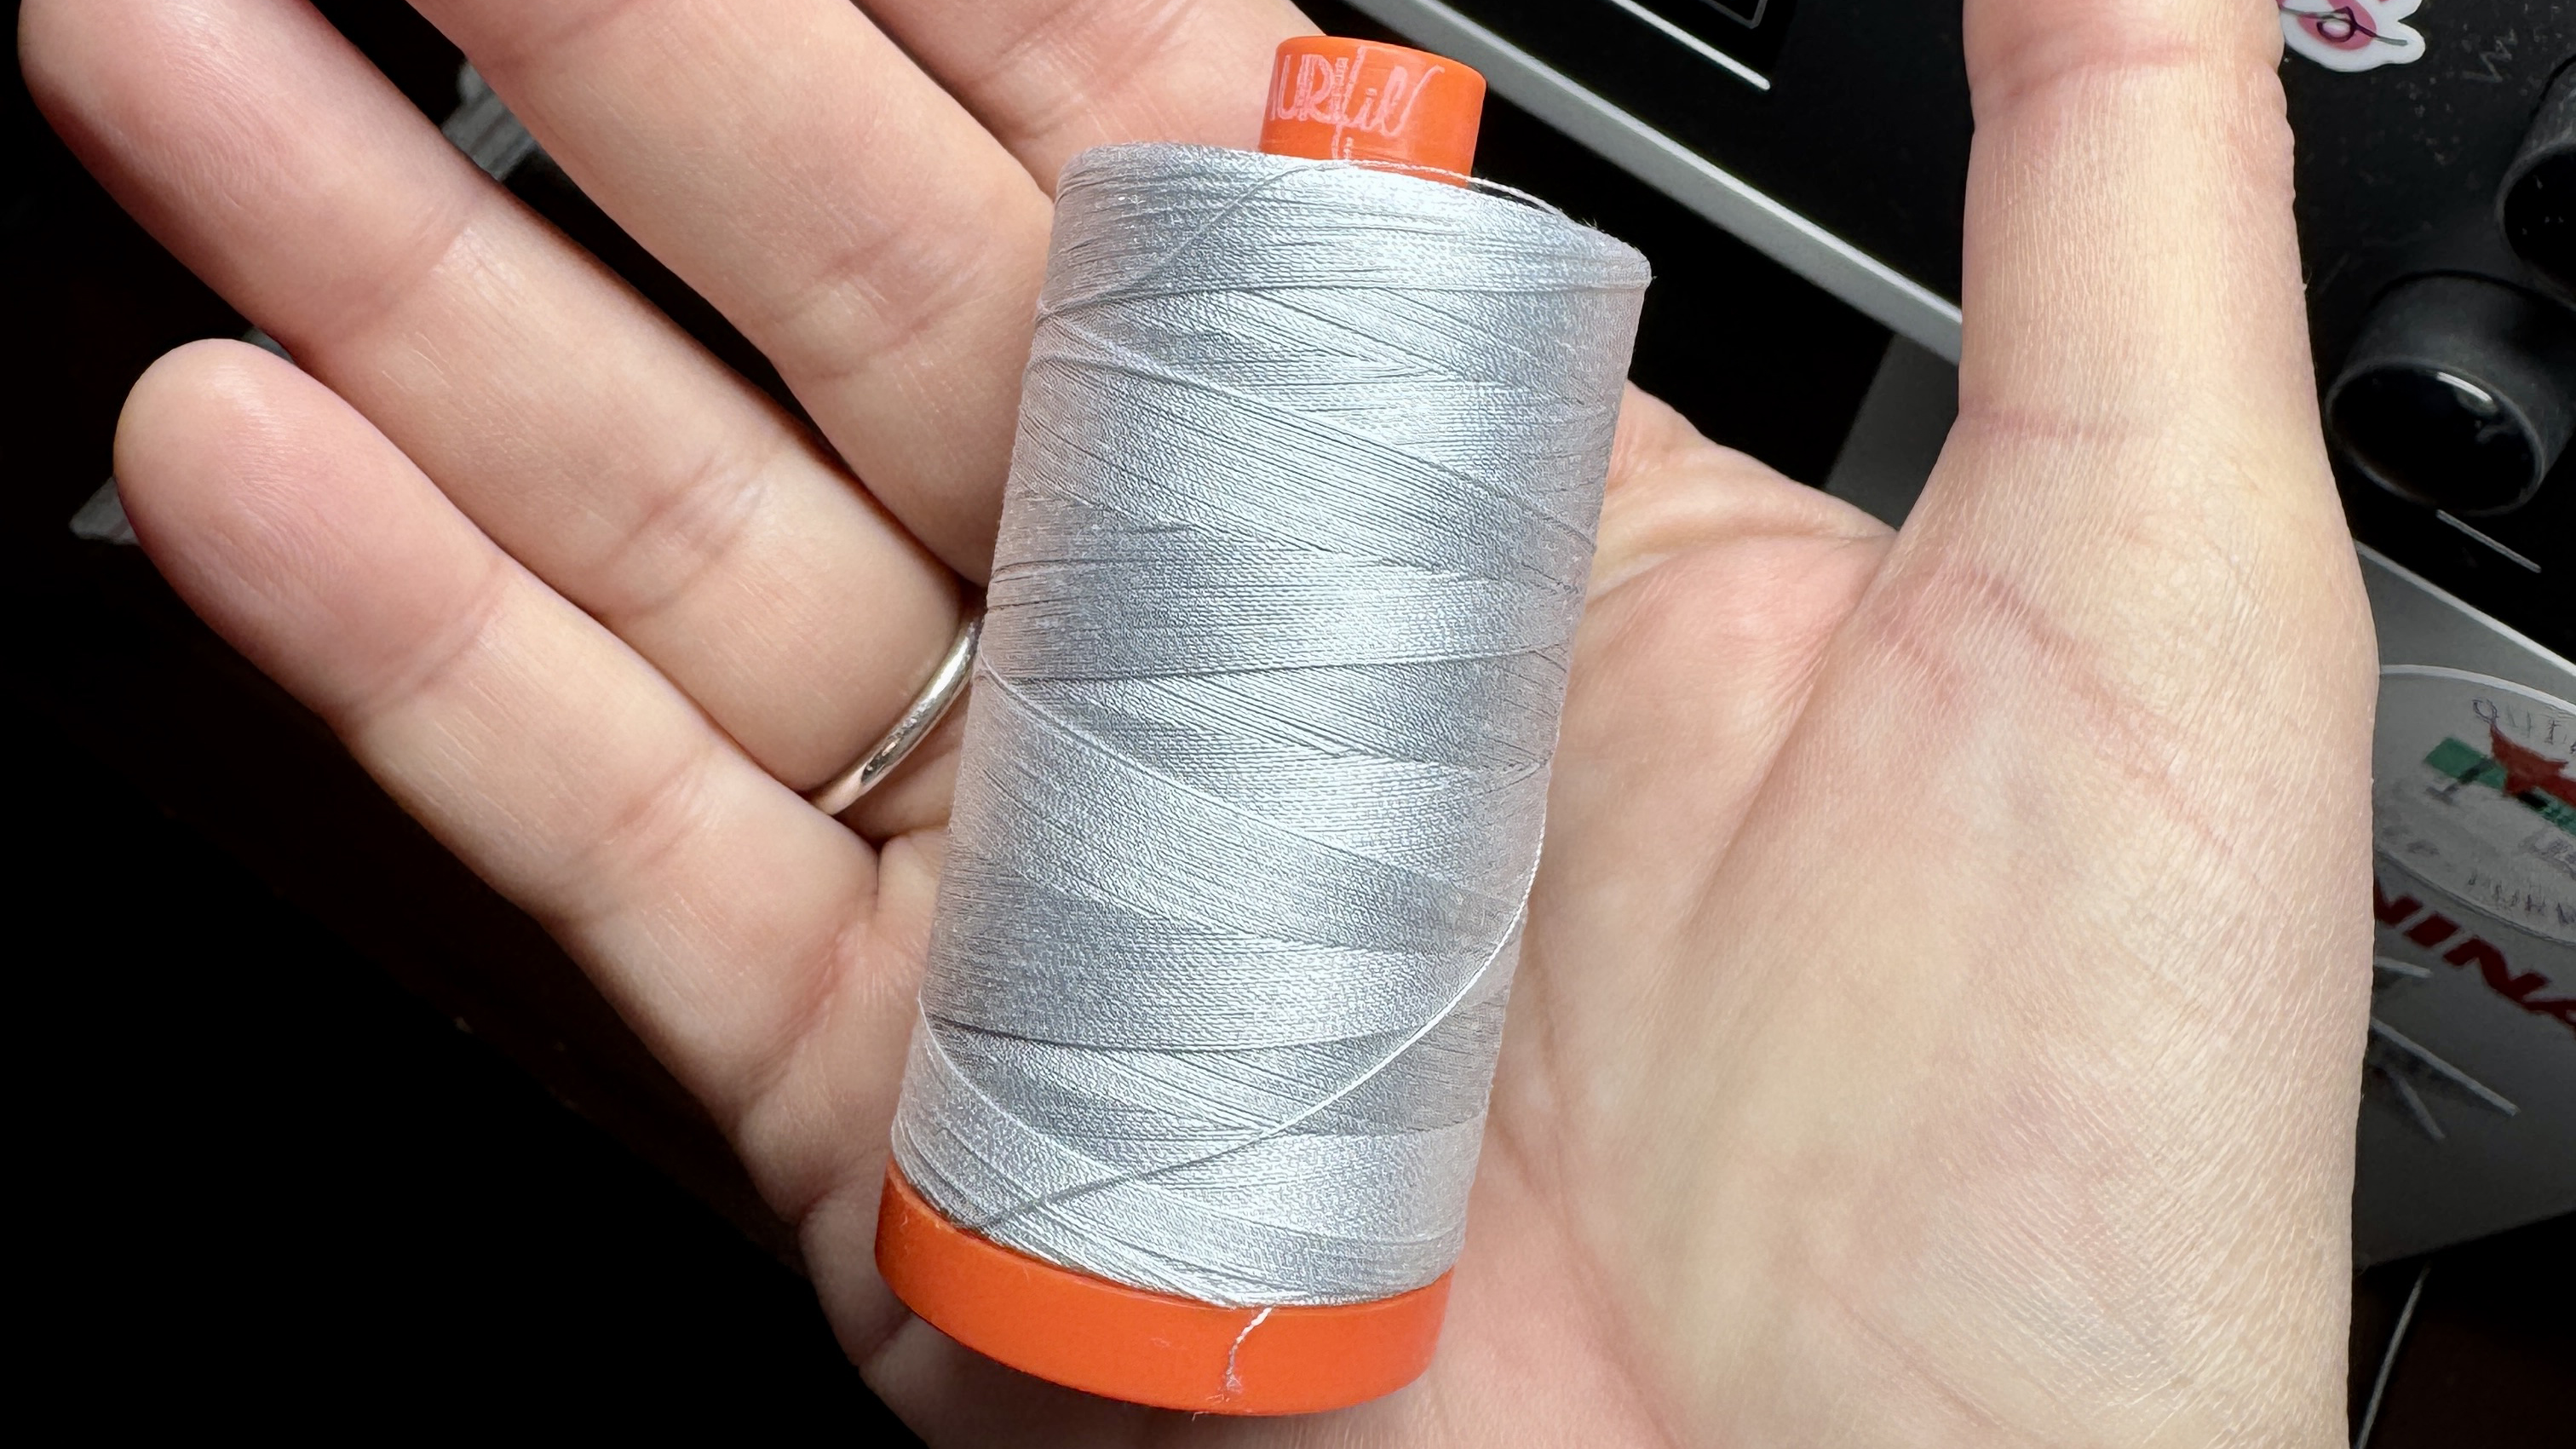
I keep my thread choices simple so I’m never guessing.
I use Aurifil 50 weight thread for nearly all my stitching: piecing, quilting, and in the bobbin. It's the Frank's Red Hot of thread for me. I [use] that [ish] for everything. I love Dove Gray (2600) for piecing because it disappears into most fabrics.
The best thread for the job is the one that runs through your machine without fighting you. Whichever brand and weight you choose, stick with it long enough to learn how it behaves. A consistent thread choice takes one variable off the table when you’re chasing a stitch problem.
Grippy Gloves
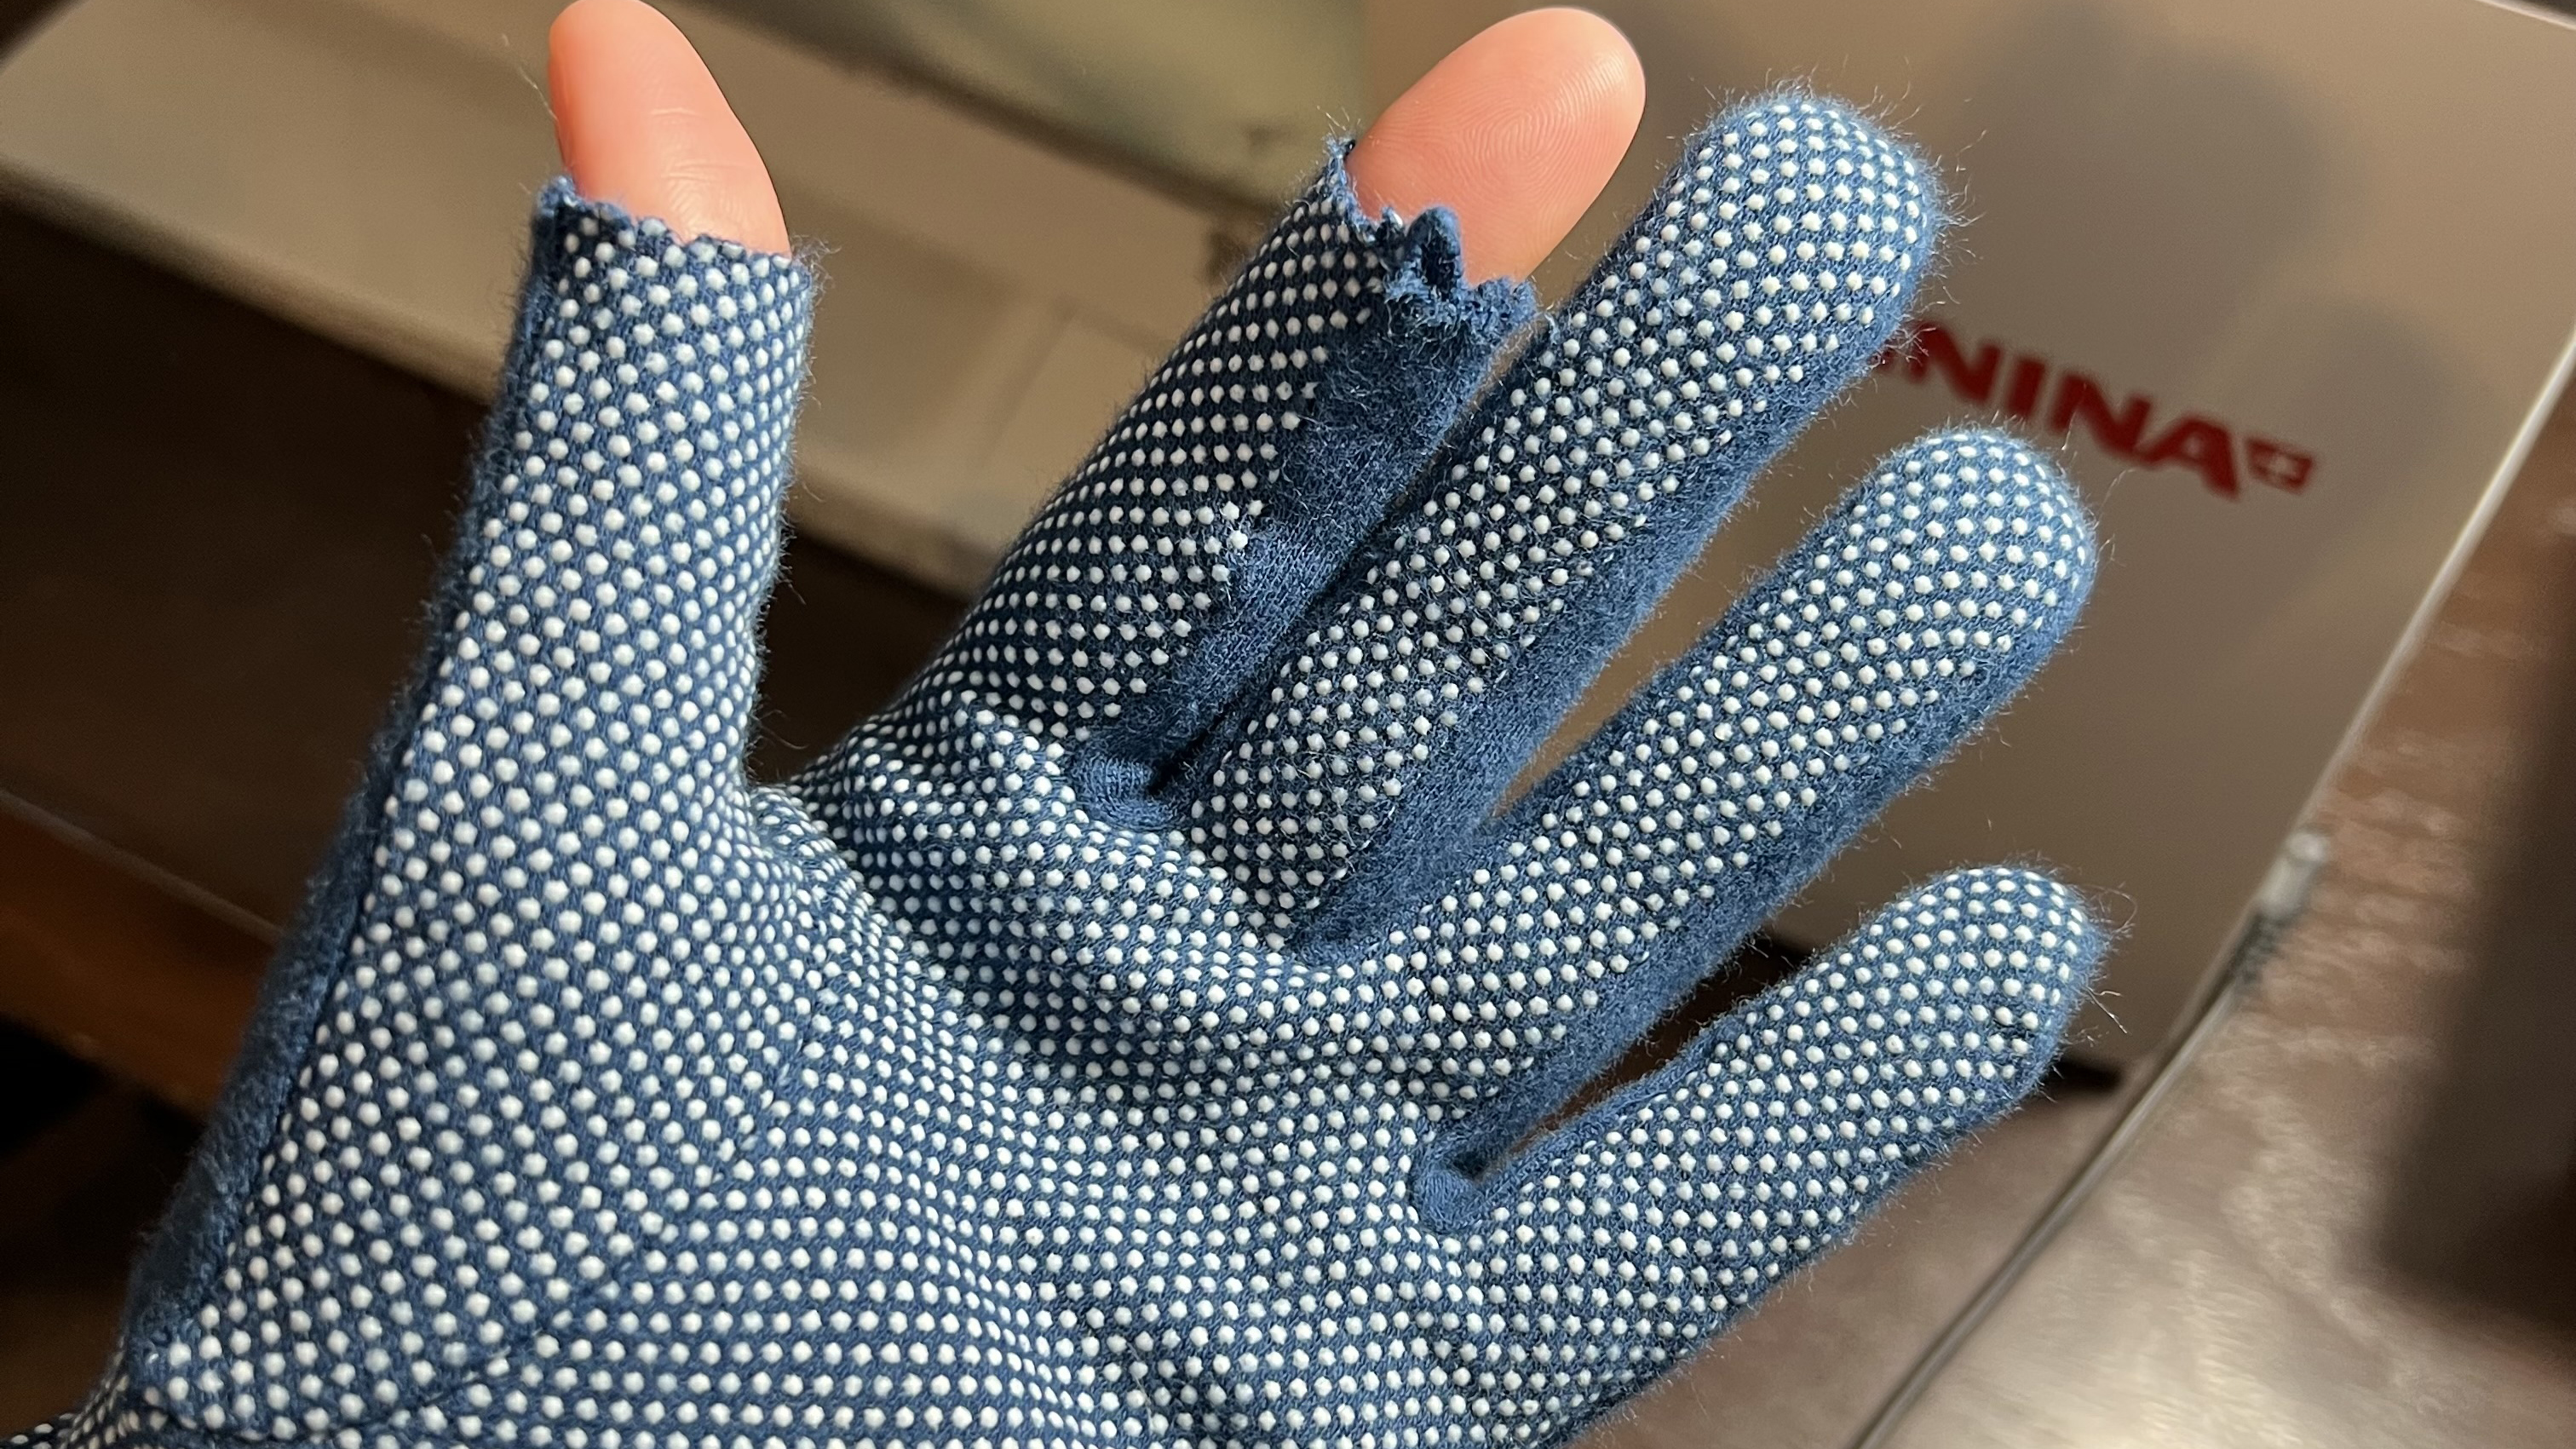
I wear grippy gloves every time I quilt to gain better control of the quilt sandwich and to prevent cramping and fatigue in my hands. The first thing I do with a new pair is cut the tips off my thumbs and index fingers. That way I can snip threads, change bobbins, or thread the machine without taking the gloves off.
What Goes in the Sandwich
Batting
The only batting I use is Warm & Natural. You can buy it in popular quilt sizes, or by the yard or roll. Because I make a lot of quilts each year, I buy the 20-yard roll and cut off what I need for each project. When I’m not using it, the roll lives in the back of my coat closet, and the off-cuts get organized in a cabinet in my studio.
After the Last Stitch
A Long Ruler for Trimming
Once the quilt comes off the machine, I square it up and trim the excess batting and backing with one long ruler. A 6" x 24" ruler does the job for most quilts. One ruler, four edges, and you’re done.
Color Catchers
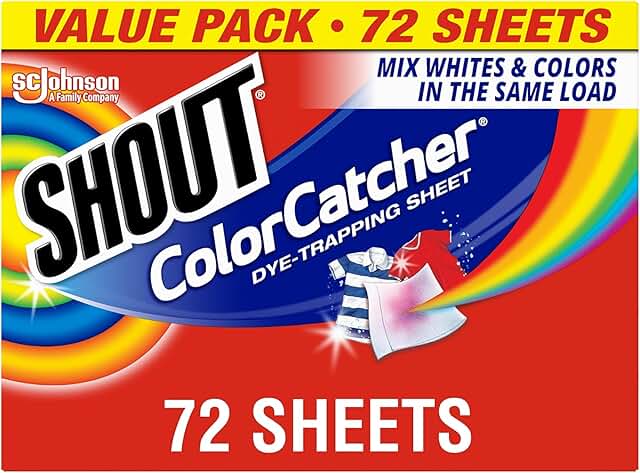
I don’t pre-wash my fabric because I’d rather be quilting than doing laundry. Color Catchers are the reason I feel confident skipping the pre-wash. I throw a few into the wash when the quilt is finished, and I don’t have to worry about color runs ruining all the work I just put in.
What You Can Skip
The quilting aisle is full of tools that look helpful and turn out to be money you didn’t need to spend. Here’s what I’ve happily lived without.
- Quilting frames. Interesting but impractical. If you’re machine quilting on a domestic sewing machine, you don’t need one. Save the frustration of having to reposition it every time you want to quilt in a different section.
- Slider sheets. They promise to make your quilt glide under the needle. In practice, the right gloves and a clean table do the same job for nothing.
- Wash-out and iron-out marking tools. I’ve already said it above. Too many horror stories of marks that refused to leave. A Hera marker does the job without the risk.
- Stencils to “draw” your quilting design first. If you’ve practiced your design in a doodle book, your hands already know the path. You don’t need a stencil to guide you. Trust the muscle memory you built.
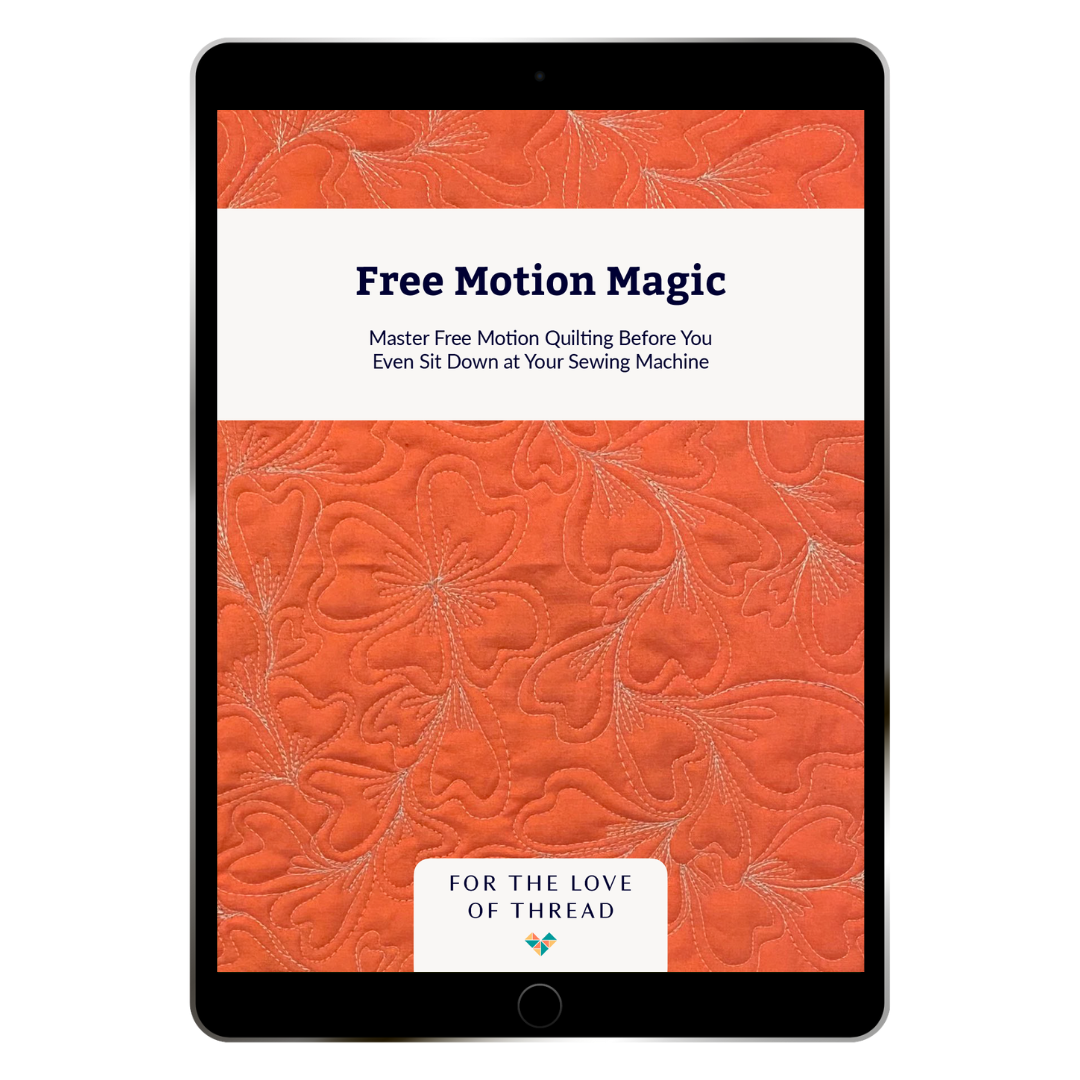
If you want more quilting tips in your inbox, sign up for my email list. You'll get my free guide on getting set up for free motion quilting as a thank you. Then, I’ll send the tools, techniques, and quilty pep talks that keep you at the machine.