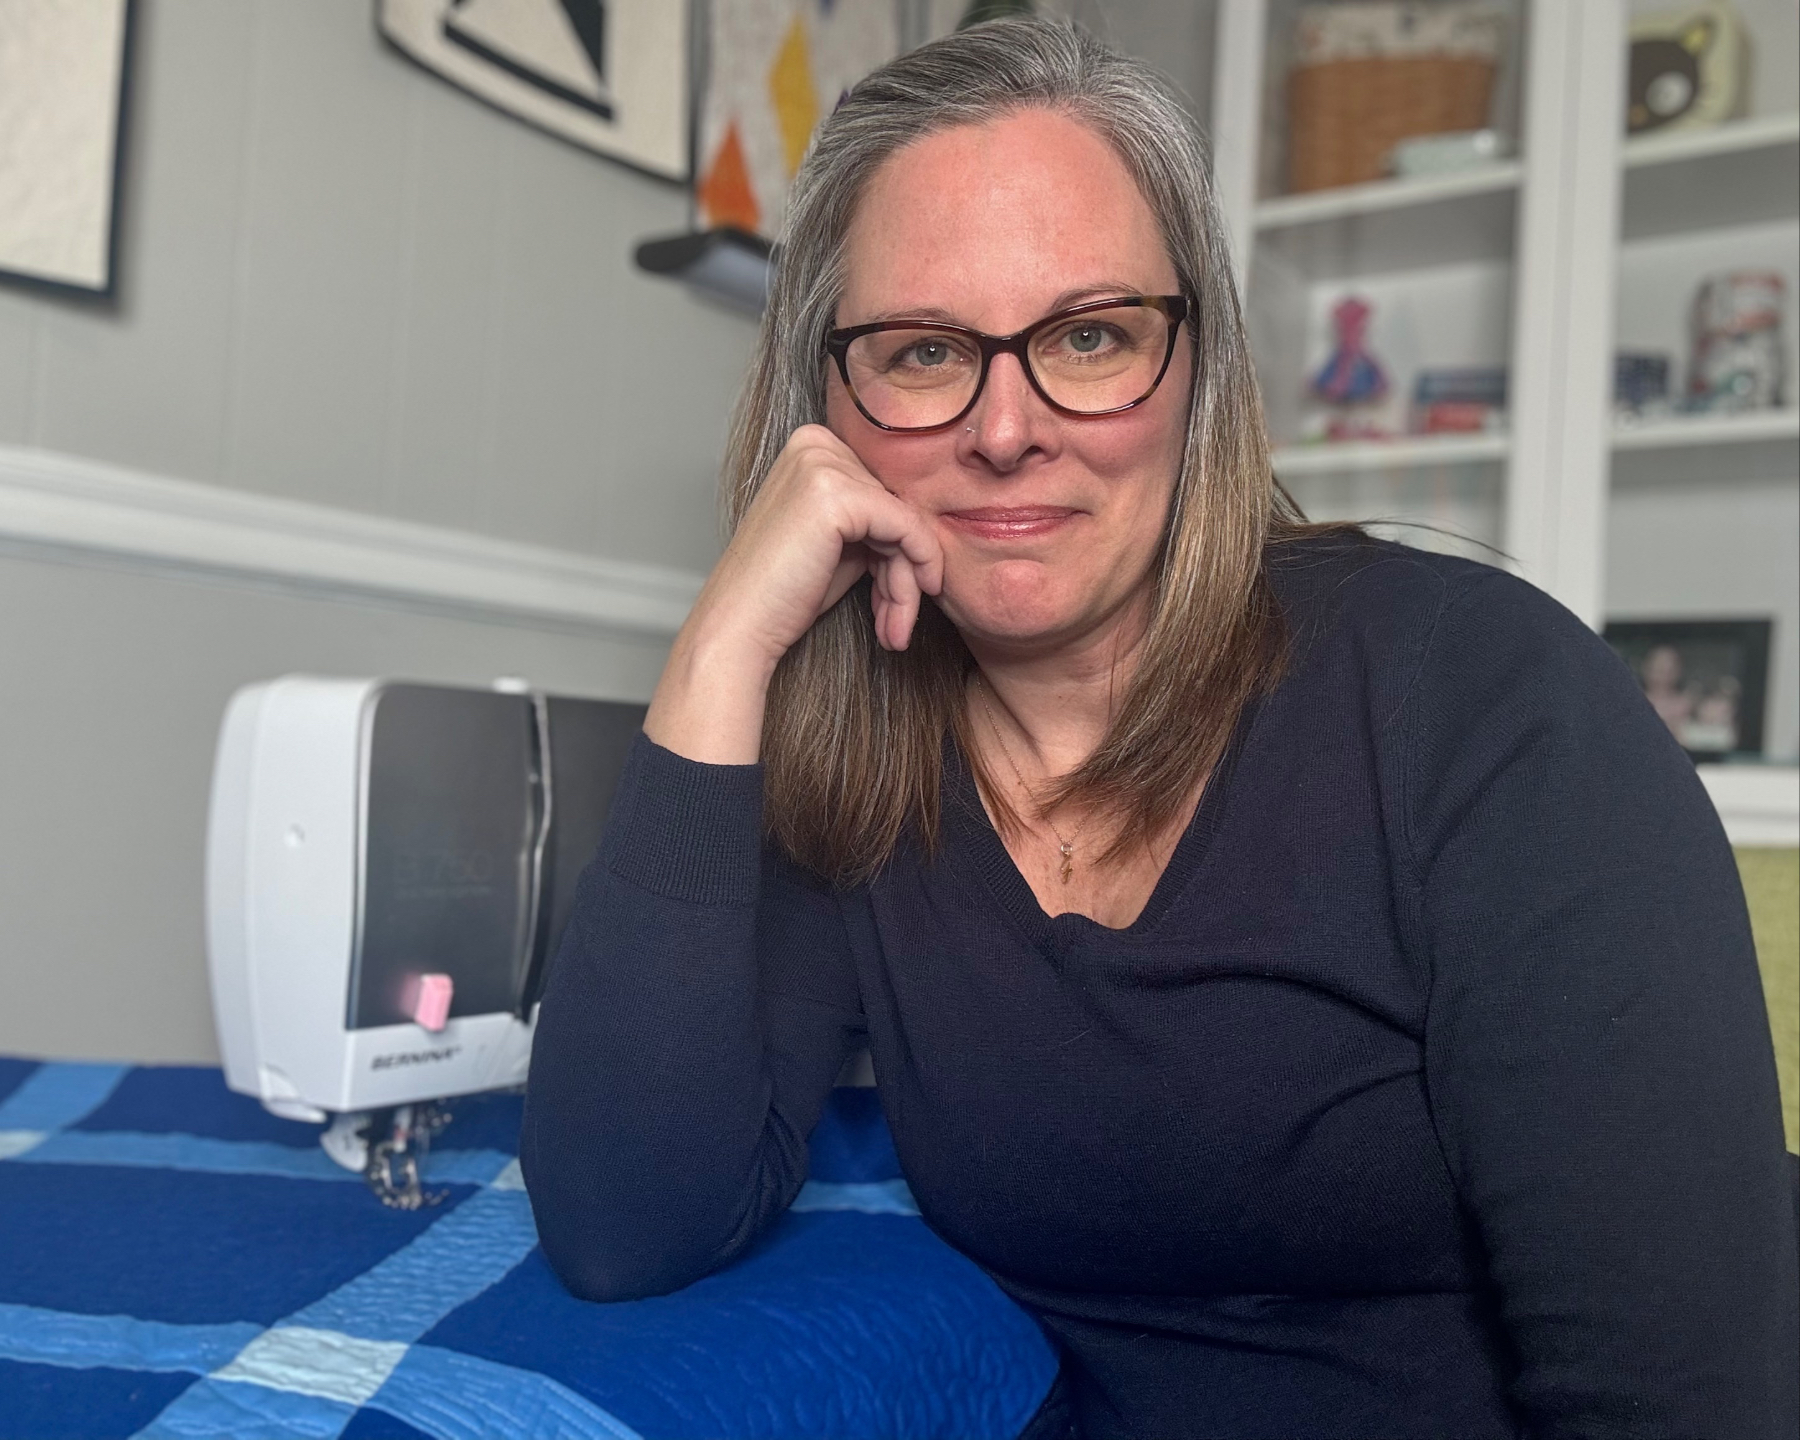
A rotary cutter is the fastest way to cut accurate fabric for quilting. But if no one ever showed you how to use one, it can feel a little scary. When I first started quilting, I was a mess at the cutting table. My strips came out crooked, my ruler slid all over the place, and I nicked myself more than once.
Over the years, I found a system that works, and today I’m sharing exactly how I use my rotary cutter to cut straight, accurate pieces. If you’re still choosing your tools, start with my guide to the best rotary cutters for quilting. Once your cutter, mat, and rulers are ready, come back here and let’s cut.
What You Need
- Rotary cutter
- Self-healing cutting mat
- Quilting rulers
- Fabric (my personal favorite)

A Quick Word on Safety
Before we cut a single strip, let’s talk safety. A rotary blade is basically a tiny, very sharp pizza cutter, and it does not care whether it’s slicing fabric or your fingertip.
- Close the blade every single time you set the cutter down. Every time. Make it such a habit that you never have to think about it.
- Always cut away from your body, never toward it. Push the cutter away from you down the edge of the ruler.
- Keep your fingers behind the blade and off its path.
- Change a dull blade instead of pressing harder. A dull blade skips and forces you to bear down, and that’s when accidents happen.
Quilting should never cost you a trip to urgent care. Build these habits now and they’ll become second nature.
Preparing Your Fabric
Most quilting fabric is about 40 inches wide. We don’t have the tools or space to cut fabric that wide, so you’ll fold yours in half to fit your mat and ruler. I fold mine selvage to selvage.
To keep your cuts on grain, line up the selvages so that if there were a gap between them, they would run parallel. It’s a little frustrating to “waste” a strip at the edge, but cutting on grain really helps prevent fraying and stretching when you piece later.
Making the First Cut
Your first cut squares up the raw edge. Before we start, one rule matters more than any other. Measure using your ruler, not your cutting mat. I’ll say it again. Measure with your ruler, not the mat.
Cutting mats are marked with less precision than rulers. Your fabric also covers the mat, and your rulers are see-through. The ruler wins every time.
Line your ruler up with the bottom folded edge of your fabric. This keeps your strips straight and stops them from coming out with a slight “V” shape. Once your ruler is aligned, trim the raw edge to straighten it.

Cutting Your First Strip
Now, line your ruler up to the width you need, measuring with the ruler markings. Make your cut, and you have a perfectly cut 2 1/2-inch strip. Congratulations!

Cross-Cutting Your Strips
Now it’s time to crosscut your strips into squares. You cut squares the same way you cut strips, but here’s an important tip I learned the hard way.
If your whole hand is flat on the ruler, the ruler will slip when you cut. There are sticky rulers and grips you can buy, but the physics is clear. A flat hand slides.
To stop the slipping, I make a weird little “paw” with my hand. My fingertips fall off the edge of the ruler onto the mat. This works for me every time. Every. Single. Time.

How Hard Should You Press?
Less than you think. Let the blade do the work. A sharp blade should glide through two layers of cotton with gentle, even pressure. If you find yourself bearing down to get through the fabric, your blade is dull, and it’s time for a new one. Pressing harder doesn’t fix a dull blade. It just makes your cuts less accurate and more dangerous.
When to Change Your Blade
A rotary blade doesn’t last forever. You’ll know it’s time for a fresh one in a few ways. You must go over the same spot twice. The blade skips threads and leaves little uncut whiskers. Cutting suddenly feels like work.
Changing the blade is worth the few dollars. A sharp blade is safer, faster, and far more accurate. Take care of your tools, and they’ll take care of you, which is one of the things I wish I’d known when I started.
Cutting Left-Handed
I cut with both hands, so here’s a note for my left-handed friends. Most rotary cutters let you move the blade to the other side of the handle, so it sits against your ruler. The blade should always be against the ruler, never on the outside. If you’re shopping for a cutter, look for one that’s truly ambidextrous. I cover which ones work best in my rotary cutter comparison.
A Few Common Mistakes (and Easy Fixes)
If your cutting isn’t going well, it’s usually one of these:
- Measuring off the mat instead of the ruler. Always use the ruler.
- A flat hand on the ruler, so it slides mid-cut. Use the paw.
- A dull blade you’re trying to push through. Swap it out.
- Cutting through too many layers at once. I’m most accurate with just two.
Don’t Just Take My Word for It
If you gather ten quilters in a room, I guarantee you’ll see at least ten different ways to cut fabric. I’ve tried plenty of methods over the years, and the one above is what works best for me. Keep experimenting with different rulers, cutters, and techniques until you find what’s right for you.
Frequently Asked Questions
Which way should I push a rotary cutter?
Always away from your body, down the edge of the ruler. Pushing away keeps the blade moving in one direction and your fingers safely behind it.
How often should I change the blade?
There’s no set schedule. Change it whenever the blade starts skipping threads or you have to press hard to cut. For most quilters, that’s every few projects.
Are rotary cutters dangerous?
They’re very sharp, so treat them with respect. Close the blade every time you set the cutter down and always cut away from your body, and you’ll be just fine.
Can I use a rotary cutter without a mat?
No. You need a self-healing mat to protect both your blade and your table. Cutting on any other surface will dull the blade fast and ruin your furniture.
I hope you learned something today, and that all your future cutting is fast, easy, and painless. If you haven’t picked your tools yet, my guide to the best rotary cutters for quilting walks you through what to look for. Now go make something beautiful!